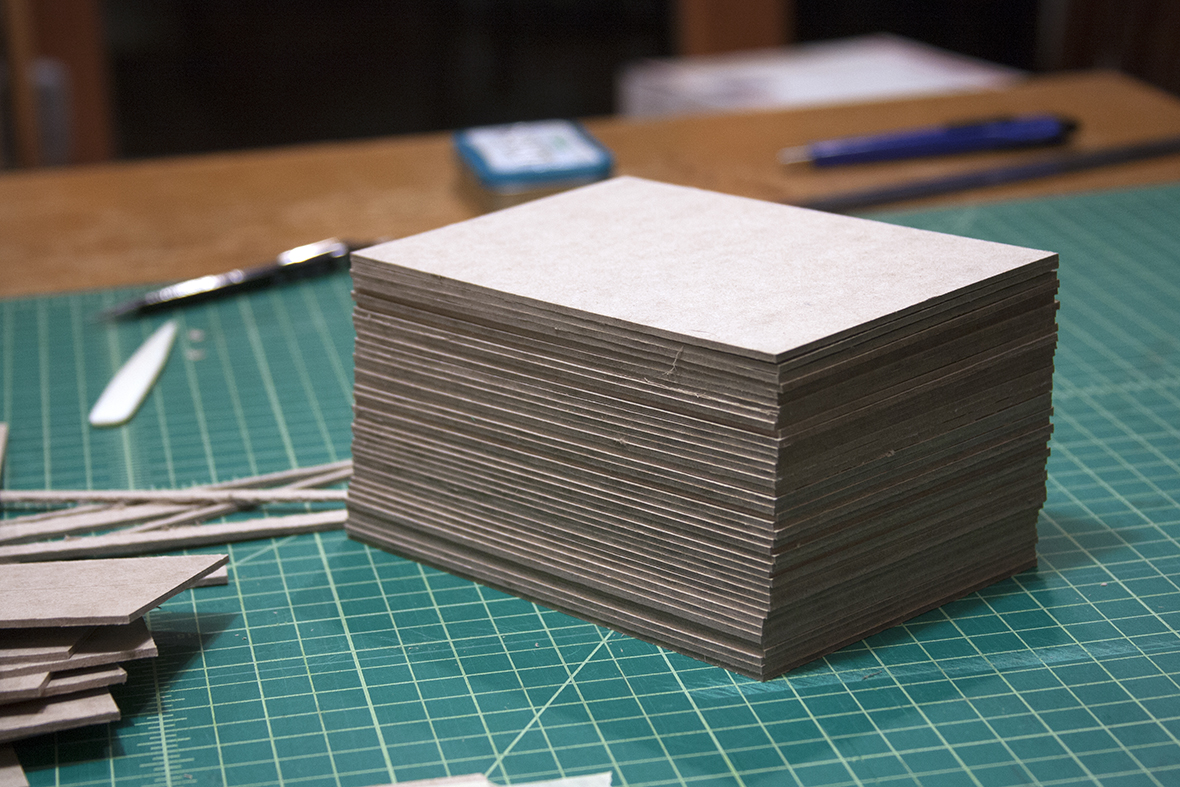
Method 1 – best for cutting long material
Begin by making a left stop with a thick ruler (not cork backed) or a piece of metal stock. I use a piece of aluminum stock 1/8 inch thick and 1 inch wide. Using basic clamps from the hardware store, I clamp the metal stop piece to the table, lining it up with one of the vertical grid lines of the mat. I then mark my cutting line with masking tape, at another grid line, so I know where I will line up my ruler each time. If your cut falls between the marks on the mat, simply put down tape on the mat and mark the cutting line with a pen or pencil on each piece of tape. Even more accurate is to cut through the masking tape and peel away the left side.
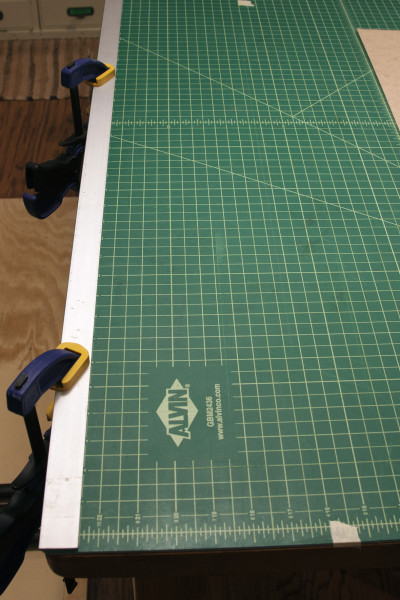
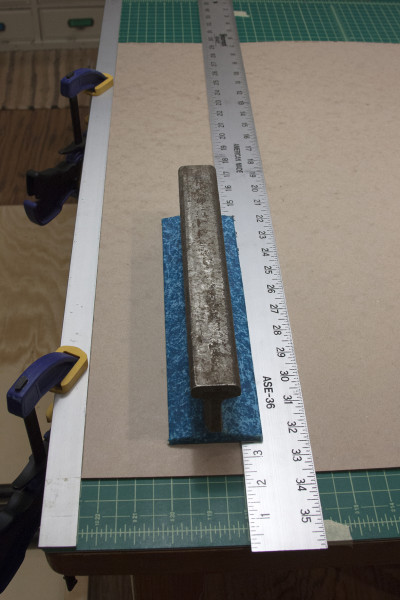 Butt the material up to the metal stop and line your cutting edge up with the masking tape. Using a weight on my ruler, I can cut long lengths of paper or board without the ruler shifting during the cuts.
Method 2 – best for cutting short material
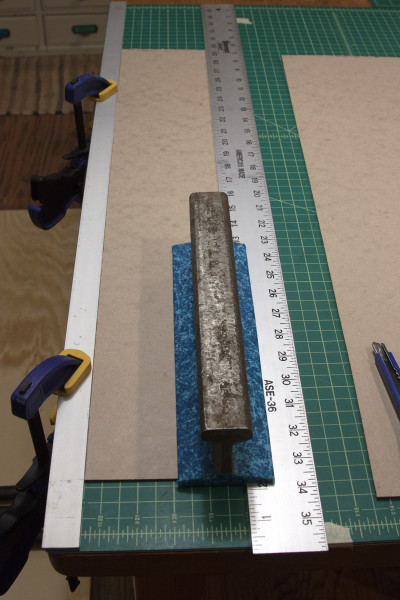
The second method begins with a left stop like the first method. Next, instead of using masking tape to mark your cuts, place the ruler or straight edge you will use for cutting on the cutting mat where your cuts need to be.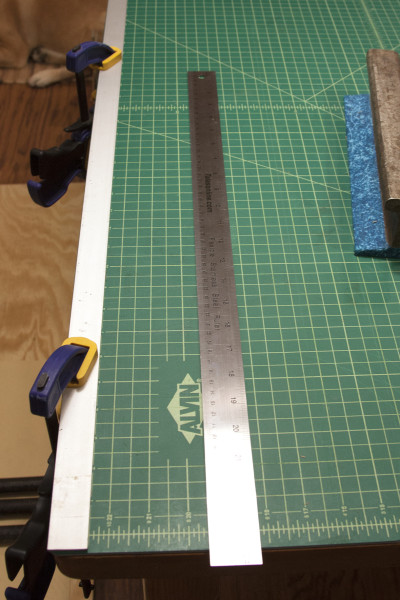 Put a weight on the ruler while you tape stops (board scraps thicker than the dimension of the material to be cut), on the left side of the ruler, to the cutting mat.Â
Put a weight on the ruler while you tape stops (board scraps thicker than the dimension of the material to be cut), on the left side of the ruler, to the cutting mat. 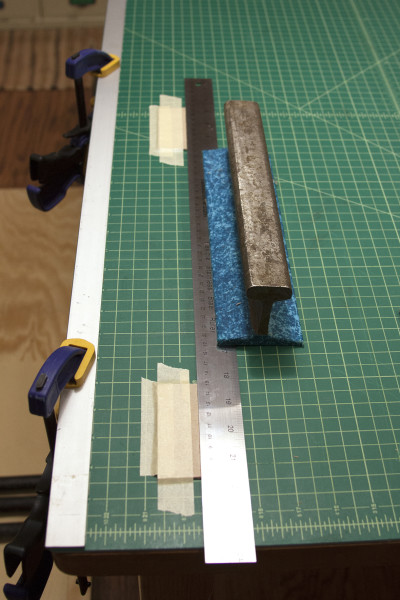 Remove the weighted ruler and place your material to be cut against the left stop. Your straight edge then butts up to the taped stops and you will cut on the right.
 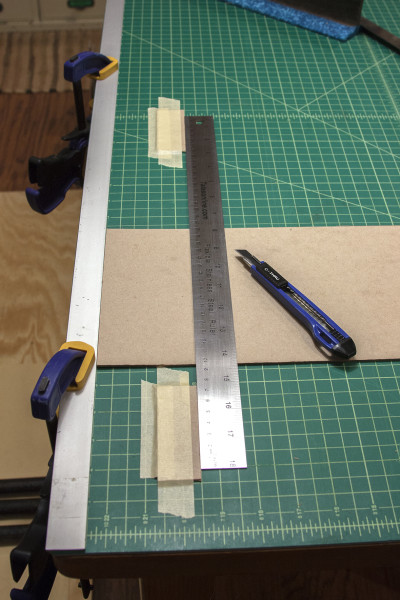 This way, there is no time wasted lining up your ruler when it is time to make a cut. If you’ve taped the cutting stops securely, you just put everything in place and go to town. This is best for cutting short material because it is not always possible to have enough room to fit the cutting stops above and below larger material.
