Here you will find the full tutorial for the soft circuit box that was made for the Guild of Book Workers, Standards of Excellence at the University of Utah in Salt Lake City, UT
October 11-13, 2012.
A little background…
Soft circuitry appeared on the craft scene within recent history and has been applied to clothing, craft projects and books. The electronic components available can be programmed to light up, play sounds, and even move depending on their application. Utilized by the DIY community, more and more electronics and uses become available everyday.
In an effort to incorporate this new technology into fine binding, this tutorial documents the ways that I have been able to use the available tools. The specifics on how to make a box or a book are left out focusing only on the way circuitry can be used while still hidden beneath the cover materials. Depending upon your design, you will have to problem solve through a few steps. and paired with bookbinding knowledge, these instructions will lead you through the process.
CLARIFYING TERMS
The lid of the box is composed of two pieces of matboard. When recessing lights in a book, the cover should be composed of two boards as well. In the case of this tutorial, I refer to the boards as TOP LID and BOTTOM LID. Once the two boards are glued together, they will be referred to as the LID.
Since I wanted to leave the circuitry accessible, I added a third piece of matboard to create a cover flap. Throughout, it will be referred to as the FLAP.
PLANNING OUT THE PROJECT
In the kit
Conductive Thread
Cotton Batting
3 volt Battery (CR1220)
Three white LED lights
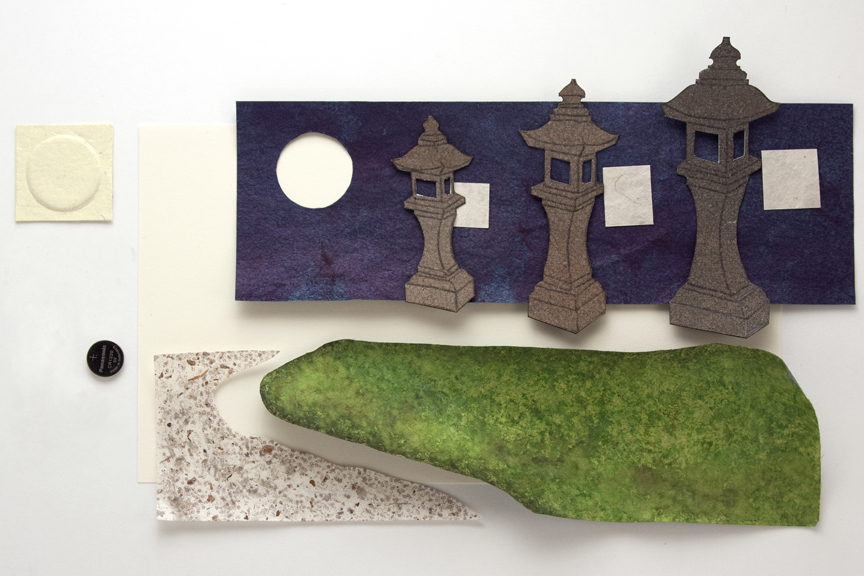
Design
Mohawk superfine – lining paper
Cave Paper – Night Sky
Green Thai Paper, painted with acrylics – moss
Korean decorative paper – gravel path
Walnut dyed flax – lanterns
Lokta – lantern lights
Yellow cotton – moon

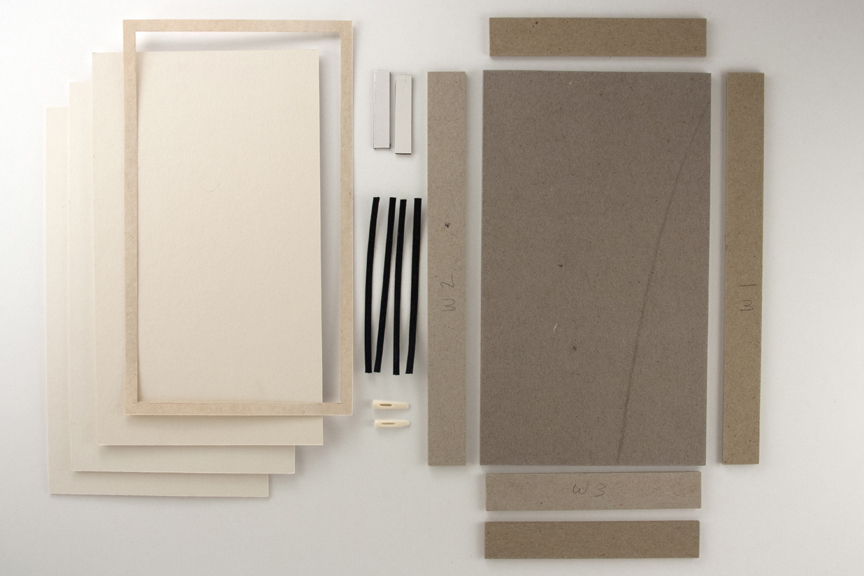
Box materials
Matboard (3 boards) – lid boards and flap
Binder’s Board – box bottom
Bone Clasps
Cloth loops
Card Stock – compartment backing & door
*Magnet for the flap and for the battery door
*should be strong enough to grab through two pieces of paper or whatever cover materials you apply. This project reused refrigerator magnets
 Go to PART 2
A FEW MORE RESOURCES
Tutorials & Other Projects
Beginners…
http://www.instructables.com/id/How-To-videos-for-eTextiles-soft-circuits-and-we/
http://kaytdek.trevorshp.com/projects/conductive/tutorial/tutorial.html#simple
http://web.media.mit.edu/~emme/guide.pdf
More Projects…
http://hlt.media.mit.edu/?cat=
http://fab.cba.mit.edu/
http://technolojie.com/
http://hlt.media.mit.edu/?p=
http://hlt.media.mit.edu/?p=
Suppliers
Small Mechanical Parts and Materials:
http://www.amazonsupply.com/
http://www.mcmaster.com/
Conductive Materials:
https://bareconductive.com/
http://www.lessemf.com/
Thread:
http://members.shaw.ca/ubik/
http://www.fine-silver-
Electronics:
http://www.digikey.com
http://www.fabrick.it/
http://www.aniomagic.com/
https://www.sparkfun.com/
http://www.plugandwear.com/
http://www.seeedstudio.com/
http://www.dfrobot.com/index.
Coin Cell:
http://www.batteriesandbutter.
Fiber Optic:
http://thefiberopticstore.com/
http://www.scientificsonline.
http://www.paintwithpearl.com/