BEGIN ASSEMBLY
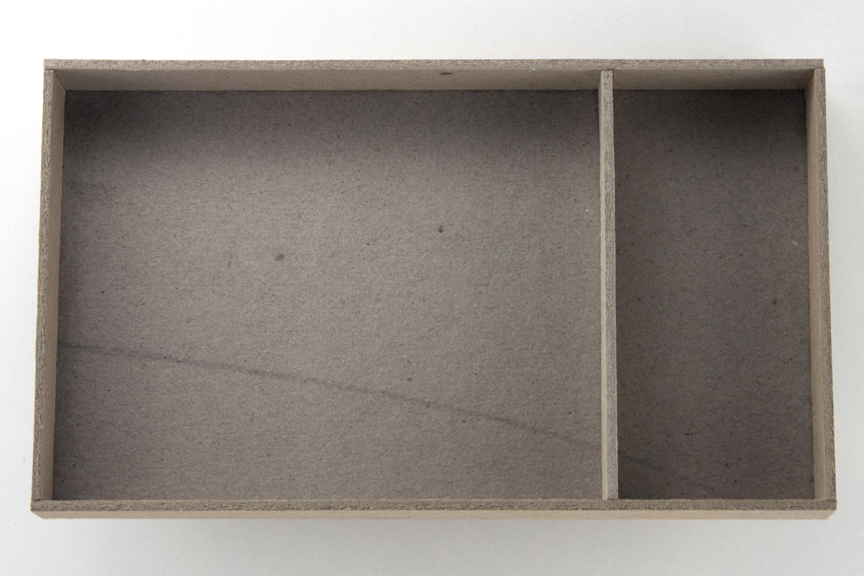
Glue walls to box bottom and sand when dry.
 img. 1
CREATING A BUTTON
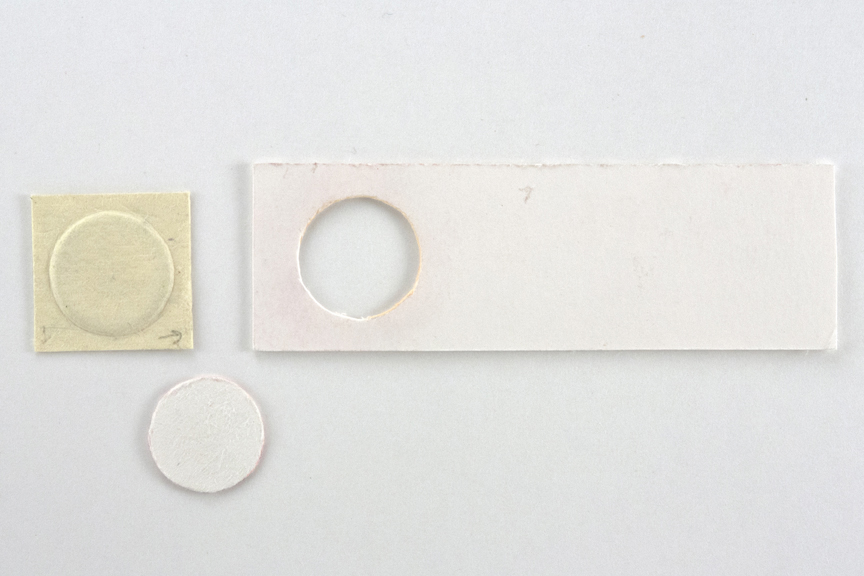
Determine the size of your button. Cut a square of paper (your button material) 1/2 inch larger than the button. Using a piece of matte board, cut a circle the size of the desired button, preserving both pieces.
Trim the circumference of the opening to just larger than the circle that was cut out. Dampen the paper and lay it on top of the matte board circle. Then lay the corresponding board on top of the wet paper so that they cause the paper to form around the circle below.
Keep this underweight until dry. Blotter or paper towel will help the drying process.
LID DESIGN
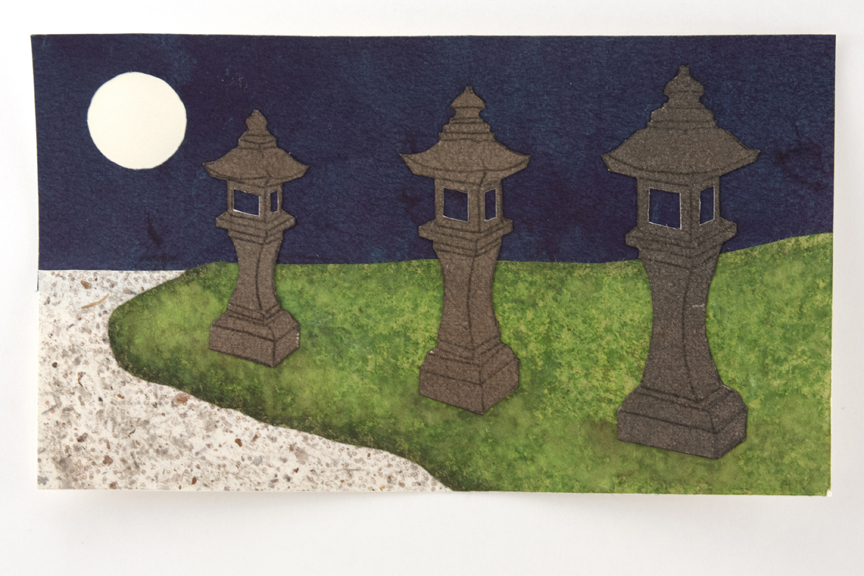
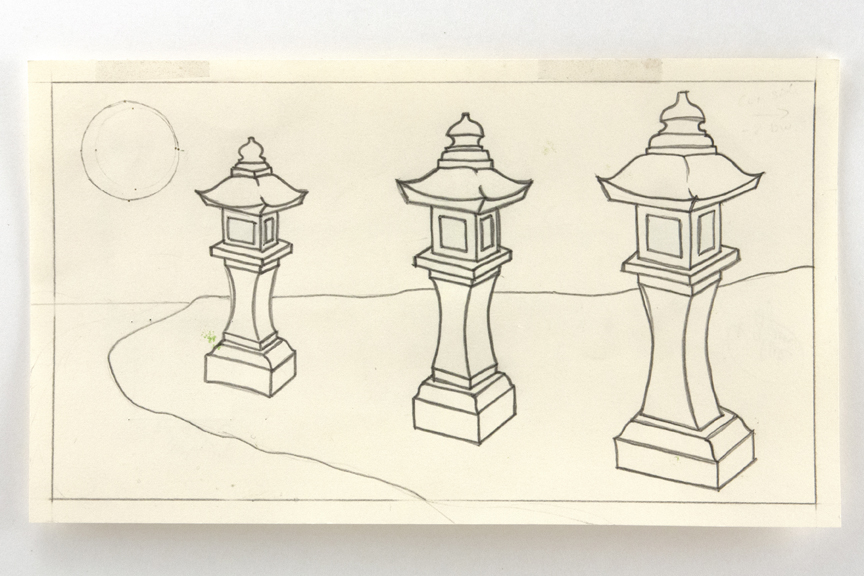
Using your drawing as a guide, glue decorative papers to a piece of Mohawk cut to the size of the lid.
 img. 3
Below is an image of all the materials used in the surface design numbered in the order they were attached. *Added later
1. Mohawk superfine – lining paper
2. Cave Paper – night sky
3. Korean decorative paper – gravel path
4. Painted Green Thai Paper – moss
5. Walnut dyed flax – lanterns
* Lokta – lantern lights
* Yellow cotton – moon
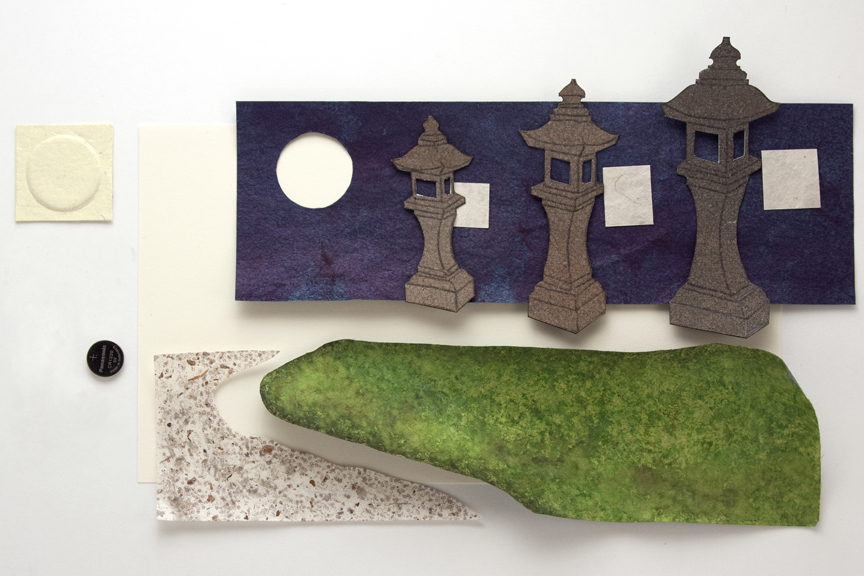 img. 4
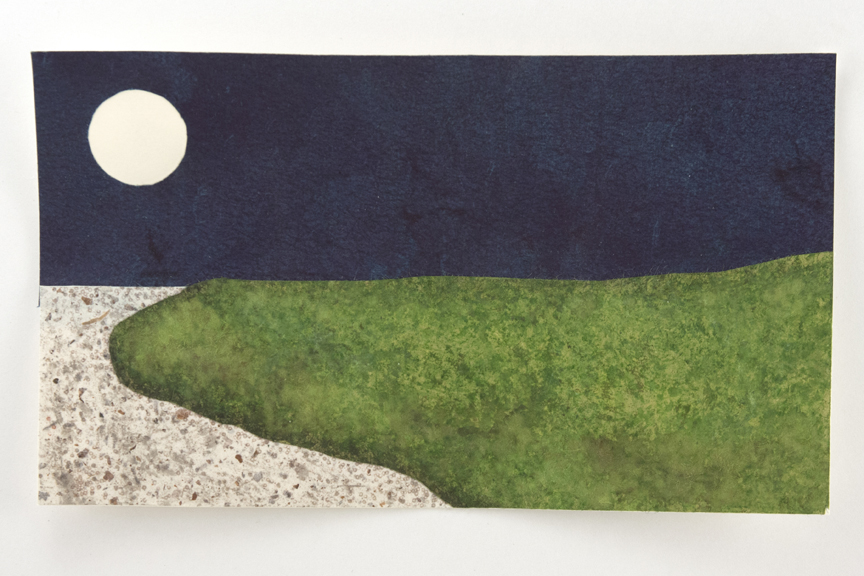 img. 5
Once it is dry, sand down the back. Add the lanterns, then cut out the moon and lantern holes.
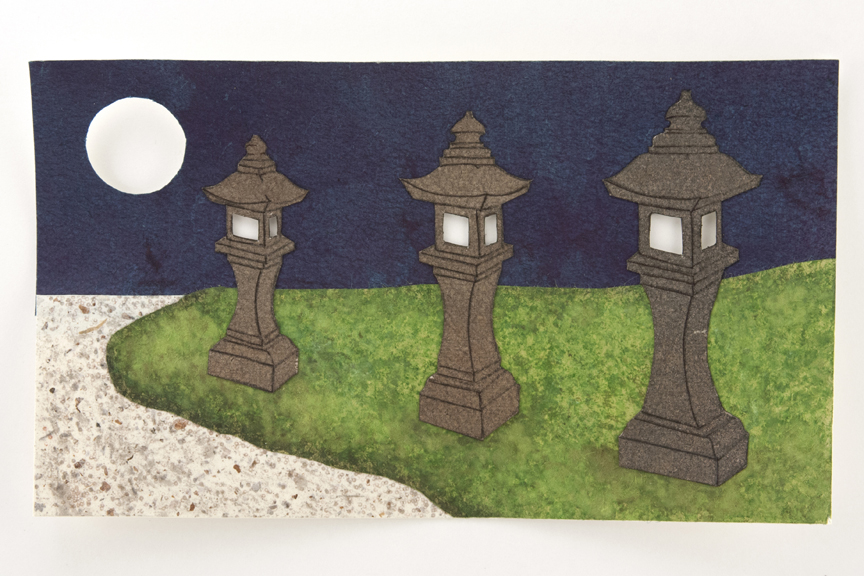 img. 7
BATTERY COMPARTMENT CONSTRUCTION
Cut a piece of card stock bigger than the battery by at least ¼ inch on each side. This will be the back of the battery compartment. In the BOTTOM LID board, where the battery will be placed, trace the previously cut card and peel up enough material so that the backing sits flush. Label the backing piece and set it aside.
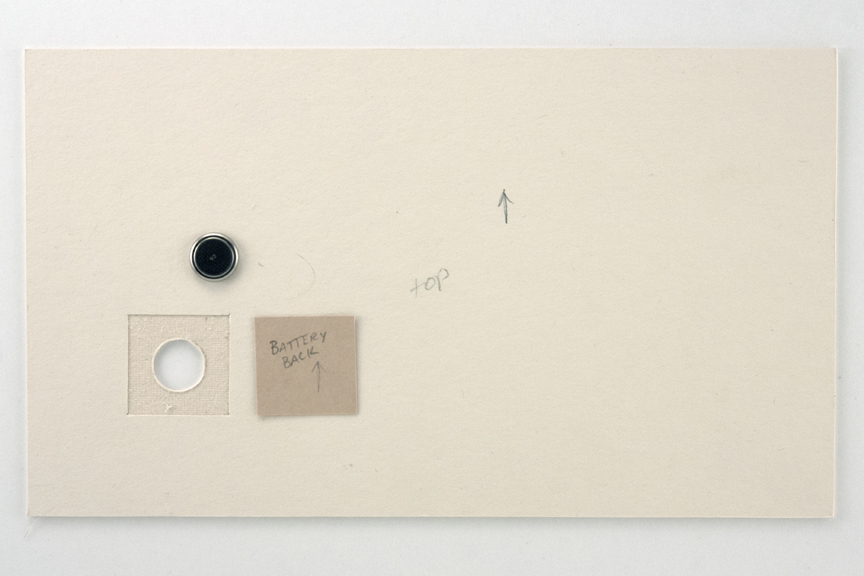 img. 8
Center the battery within the cut away area and trace it with a pencil or a pin tool. Cut out the circle through the board. Transfer the hole to the TOP LID board, with a pencil or pin tool, and cut it out. Sand if needed. You may want to cut out additional space to allow the battery to be removed easily.
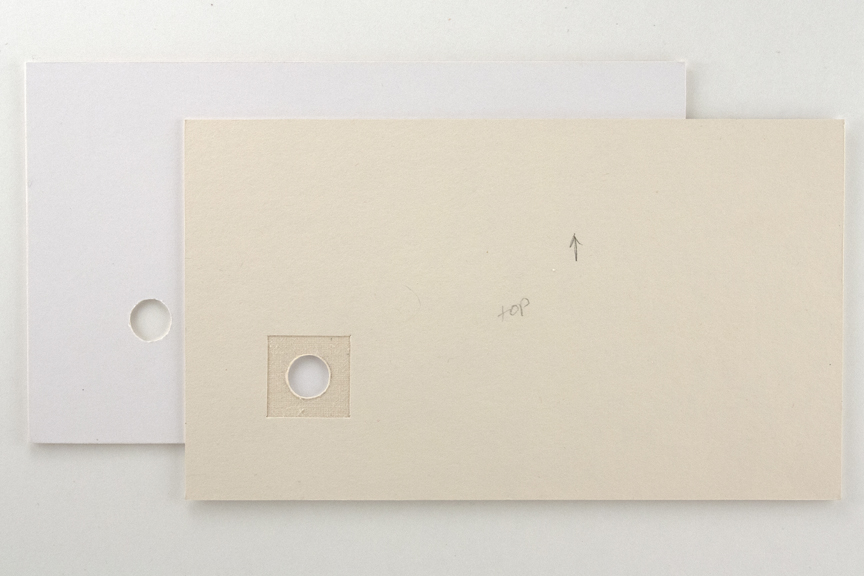 img. 9
Glue the backing material into the TOP LID board.
Cut door material (for the BOTTOM LID board) and the magnets to complete the battery compartment. The door should be at least ¼ inch bigger on each side, plus the dimension of the magnet. Place the door where you want it to sit above the battery hole, trace it, and peel up enough thickness to accommodate the door and the cover materials so that it sits flush to the surface. (including the door cover material)
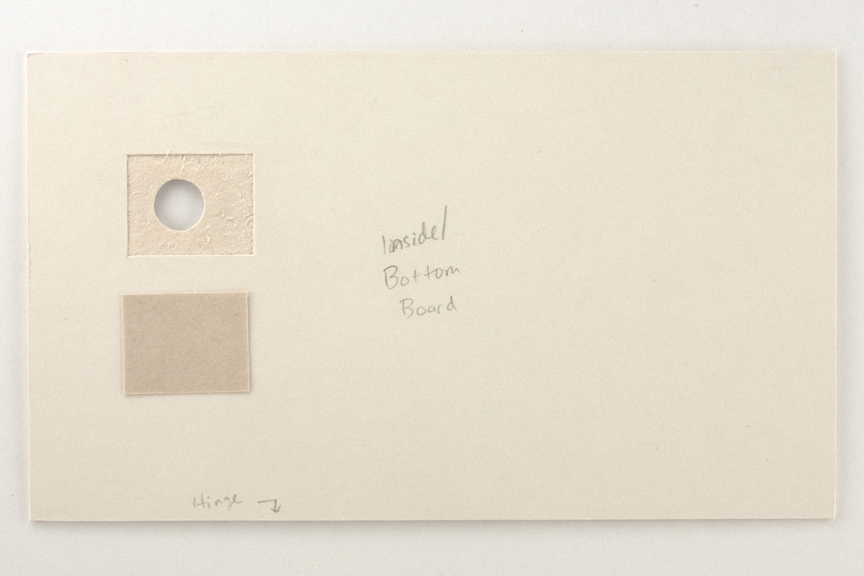 img. 10
Cut the space for the magnets to be inset so that they sit flush within the compartment.
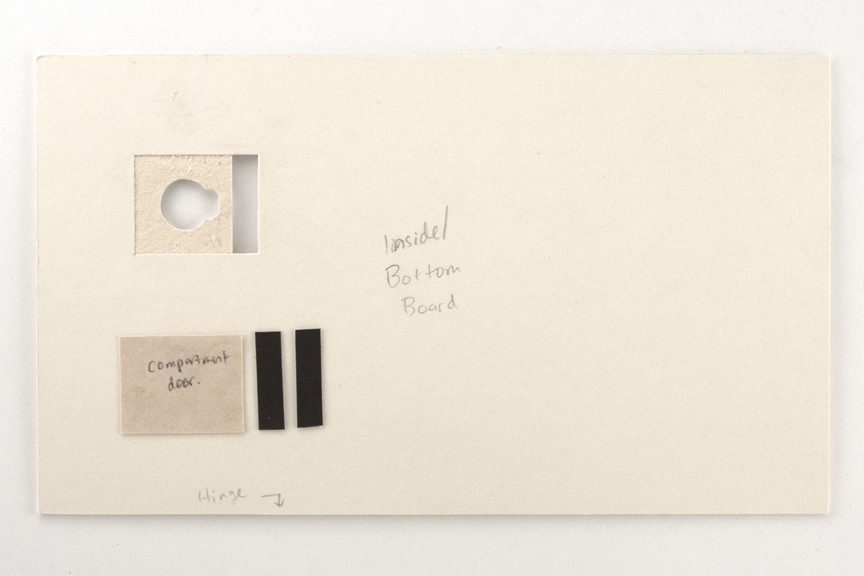 img. 11
Determine the door opening mechanism: ribbon, cut out, etc.
Go to PART 3
