FINAL ASSEMBLY
*At this point, your preference of wrapping methods may come into play. I have included my solutions to getting all of the openings to line up with one another, though you may come up with a better solution.
Prepare covering material. Wrap 3 walls of the box, leaving the back open.
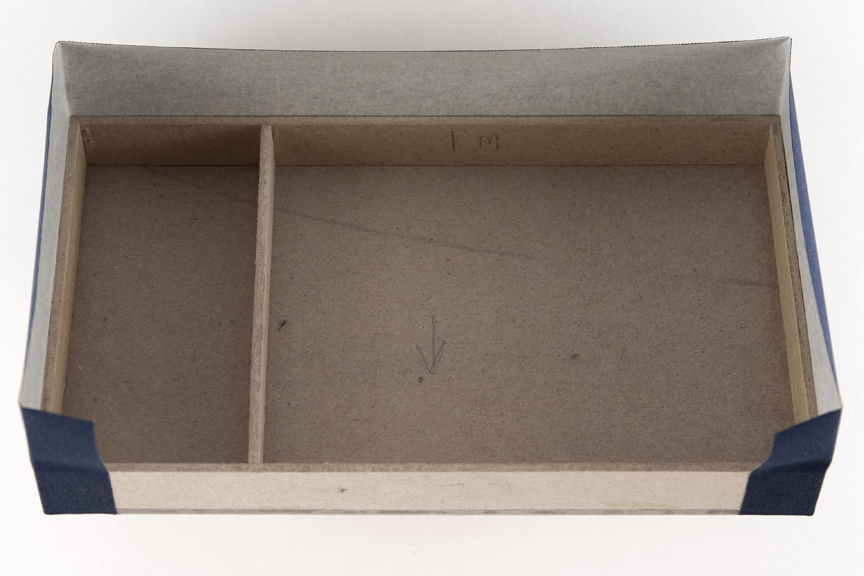 img. 38
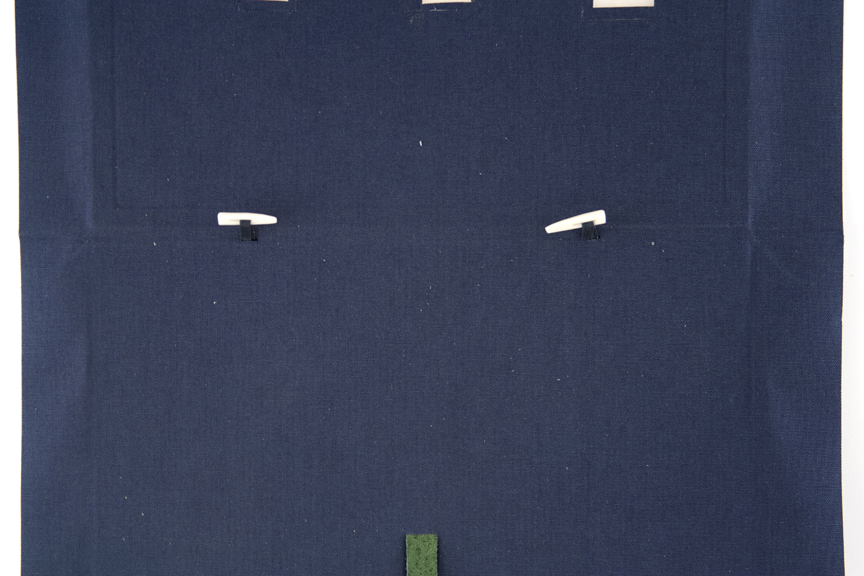
Before the wall wrap is finished on the inside, add the bone clasp loops.
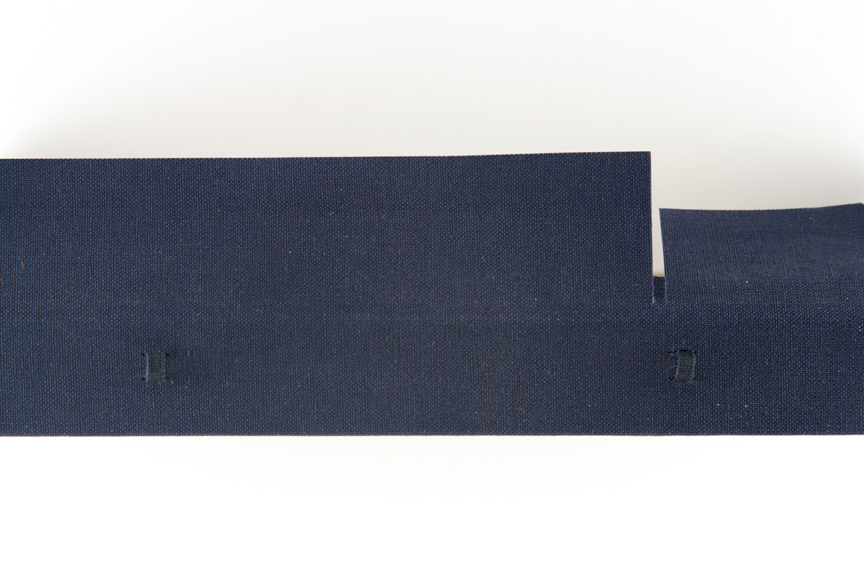 img. 39
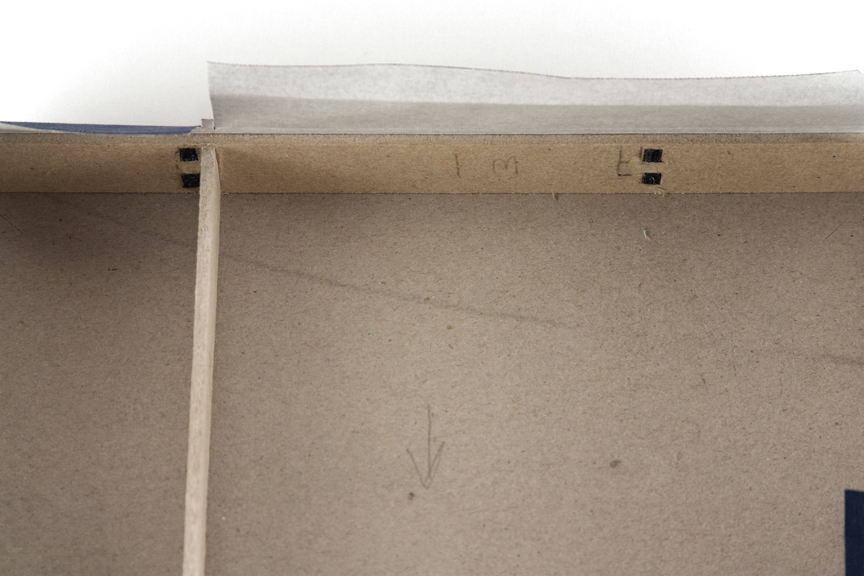 img. 40
Finish the wall lining.
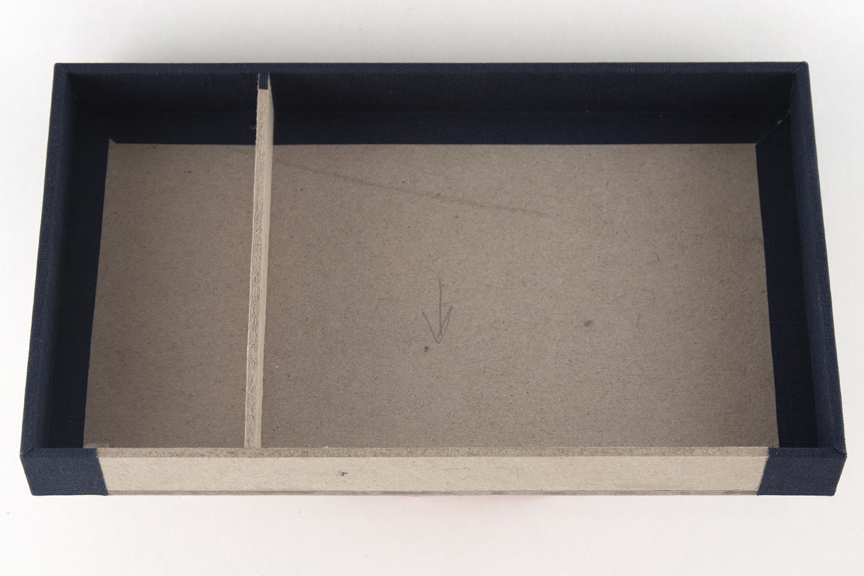 img. 41
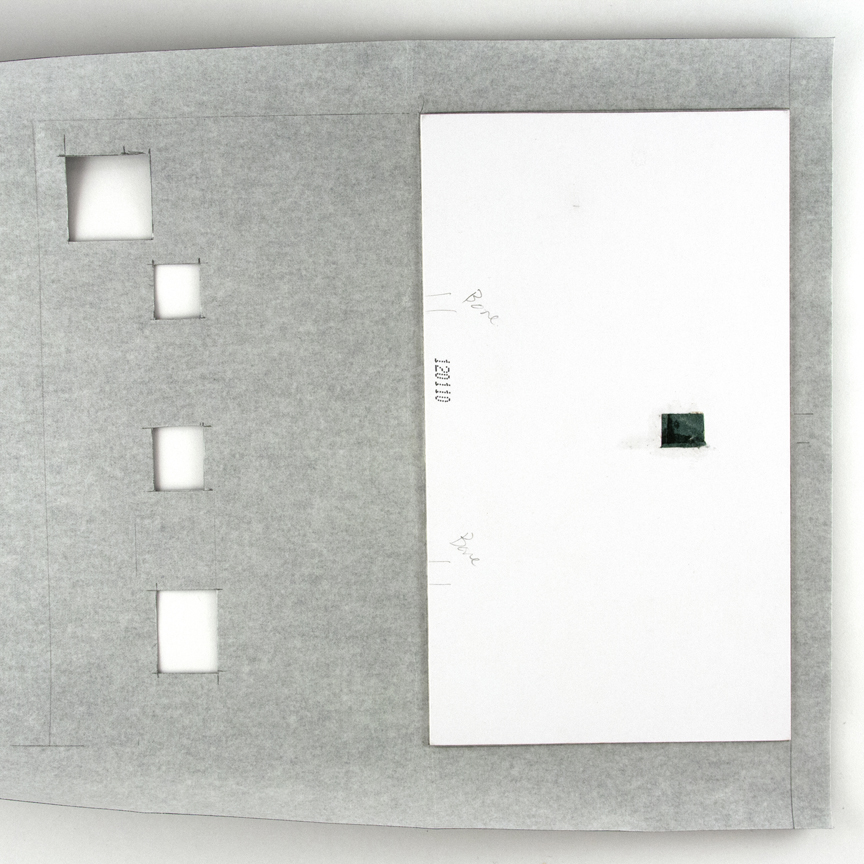
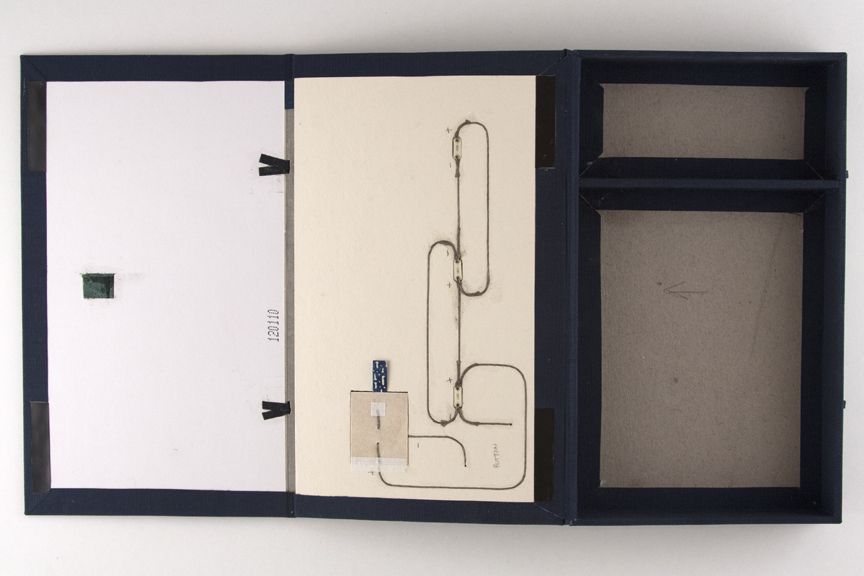
Attach the FLAP board to the second piece of cloth keeping in mind your opening method. Mark the LID board for attachment, but don’t glue it down. Make cut outs for the moon and the lights slightly larger than the openings. Check the fit of the components while they are dry.
 img. 42
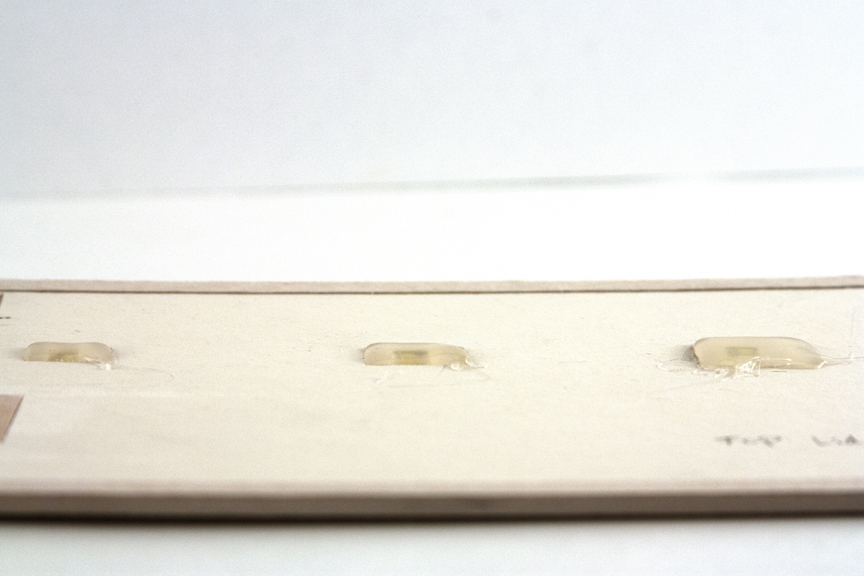
Fill the light openings with hot glue. Try to avoid making air bubbles and fill the opening until the glue is built up above the surface of the board. Allow to harden and cool.
 img. 43
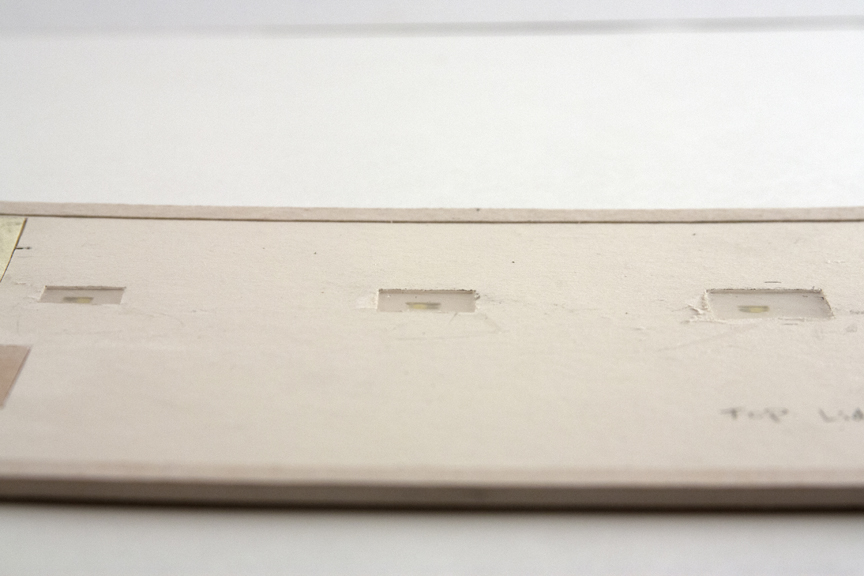
With a sharp lifting knife or paring knife, trim the glue flush with the board surface.
 img. 44
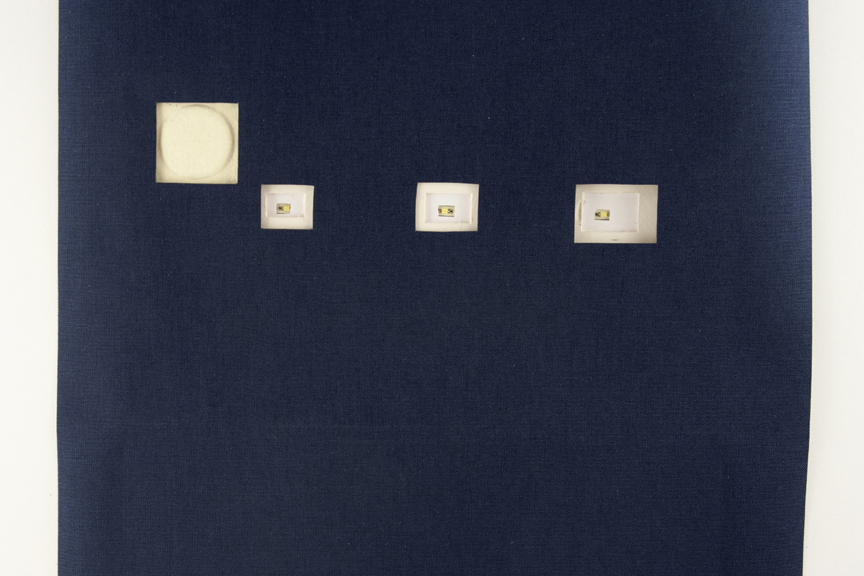
Glue down the LID board to the cloth.
 img. 45
Add bone clasps to the FLAP board.
 img. 46
Cut LID cloth for attachment to the box. Attach to the box and make any adjustments before finishing turn ins.
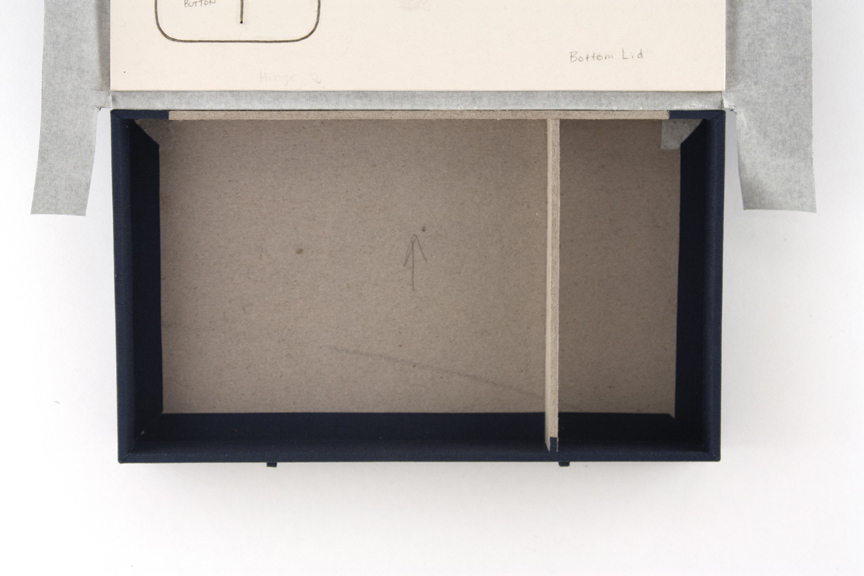 img. 47
 img. 48
img. 49
Line the LID hinge with cloth.
 img. 50
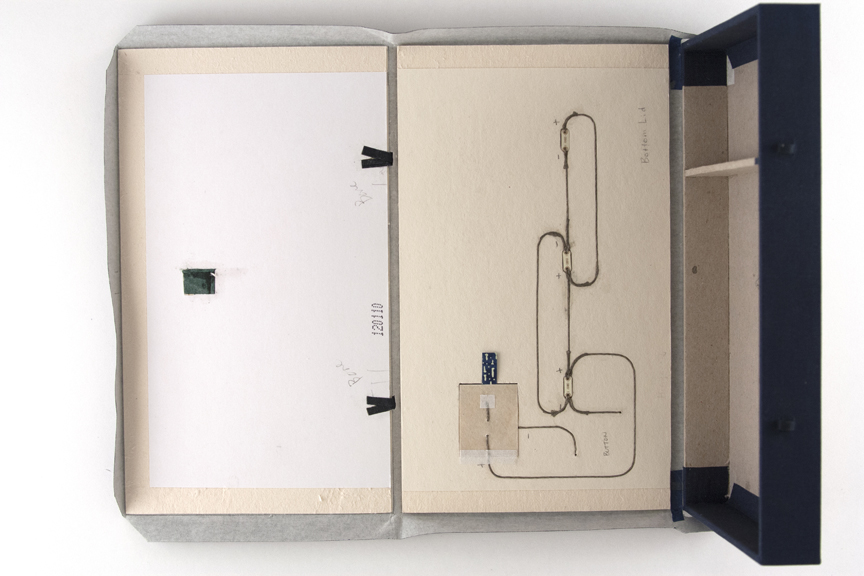
Add magnets to the FLAP.
 img. 51
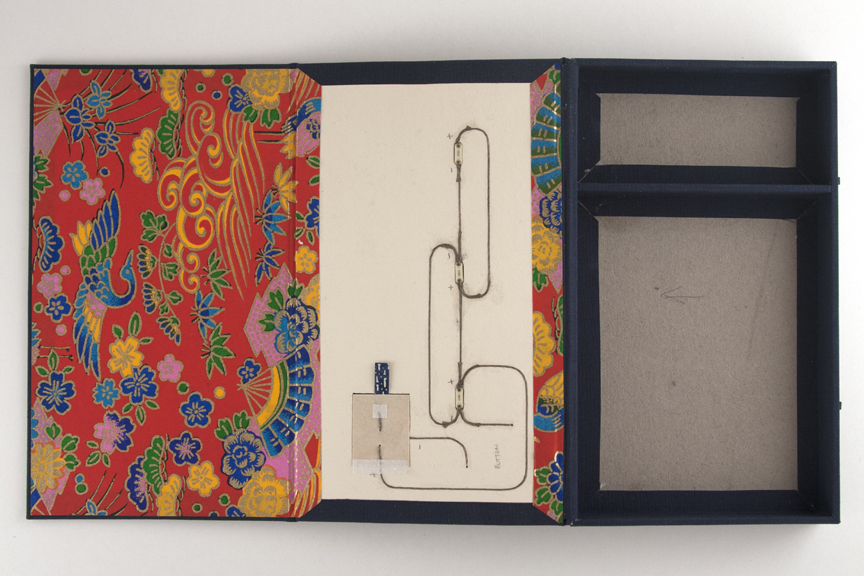
Line the FLAP and cover magnets with decorative paper.
 img. 52
Add decorative paper to the top of the lid. (Press without weight on the button).
 img. 53
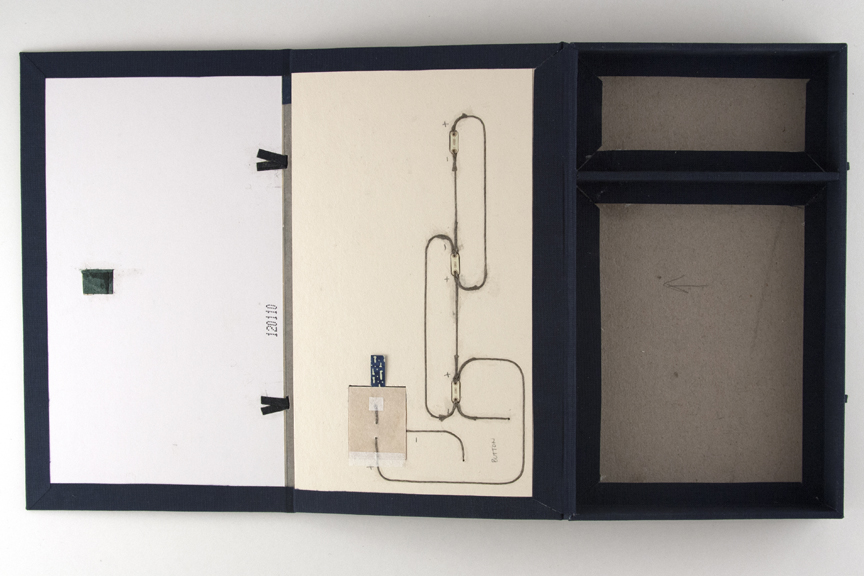
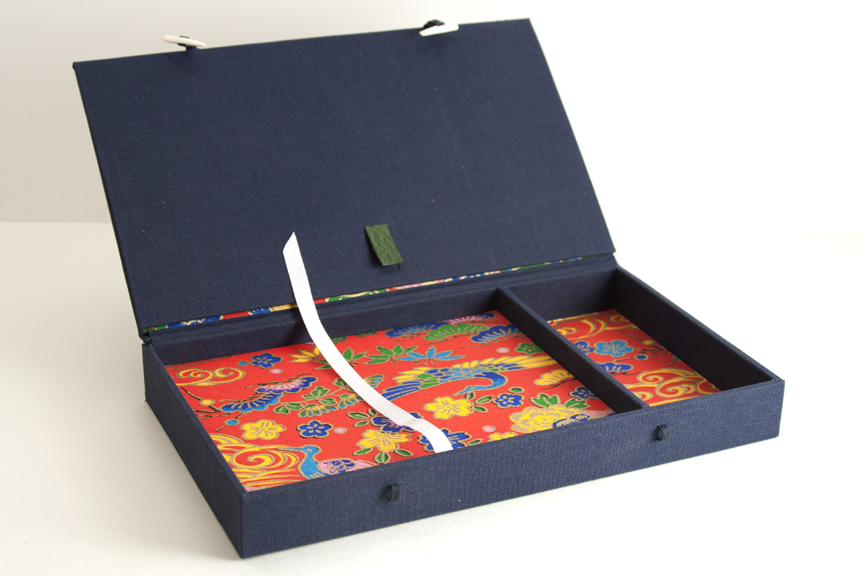
Line the inside and the bottom of the box to finish.
 img. 54