This book is a model I created for a workshop I taught. I wanted to show the possibilities for ways that pages can be modified in order to incorporate content. Below are close up photos taken of that book model in an effort to help see how the pages can be assembled. There are many ways the same result can be achieved, but here is my version.
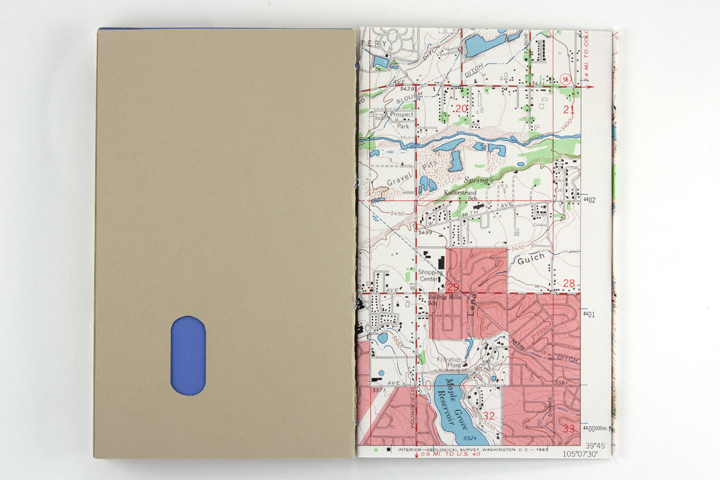
The covers are in the style of a sewn board attachment. The maps are folded and sewn in like the book pages and a stiffening material (the light green board in the photos) is added later.
*In the photos, you will see pieces of tape where the inner page assembly is shown. This is for my own purpose of the model being easy to see inside. In order for the pages to be strong and stable, I suggest the use of archival glue like PVA.
**Click on each image for a larger version.
The cover is folded in half and sewn through like another section. It also has a yap edge, which extends over the fore edge to protect the pages. The light green board stiffener is notched to fit around the blue sewing thread.
Simulating traditional folded paper section it is composed of blank drawing paper with card stock wrapped around it.
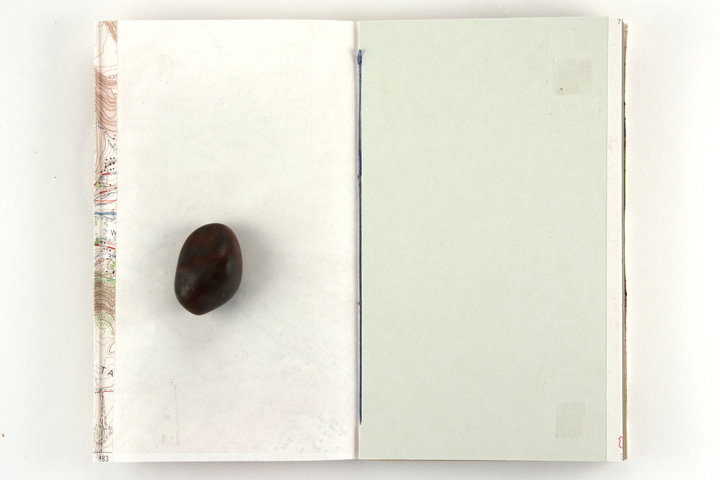
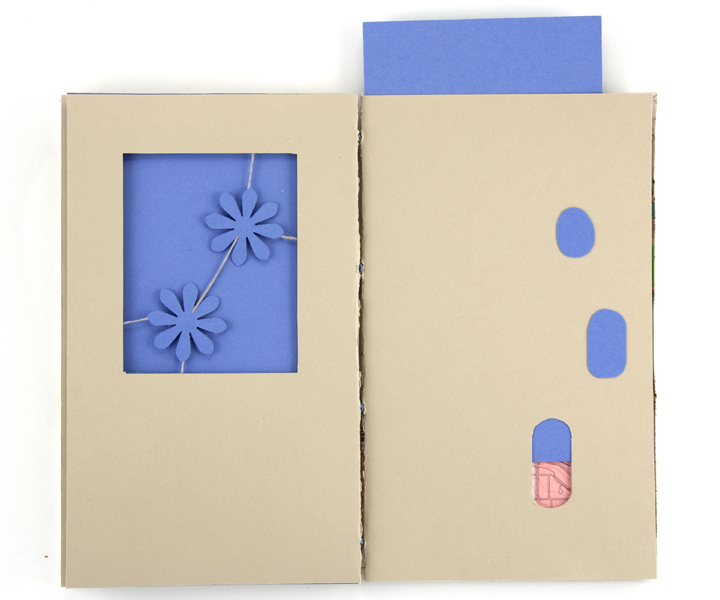
The blue inserted material provides enough space for the item that will be put inside.
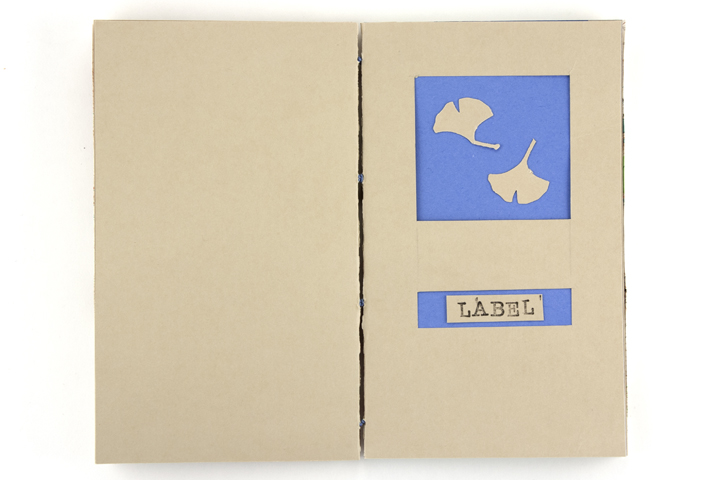
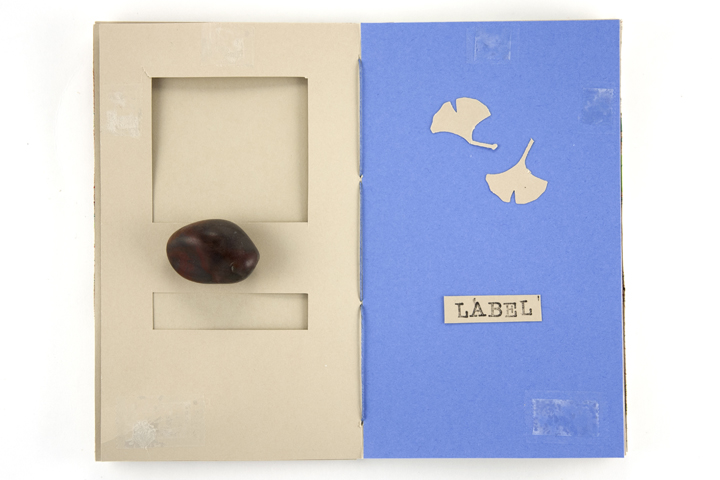
There is no need for inserted material unless the item in the window is thicker than the page.

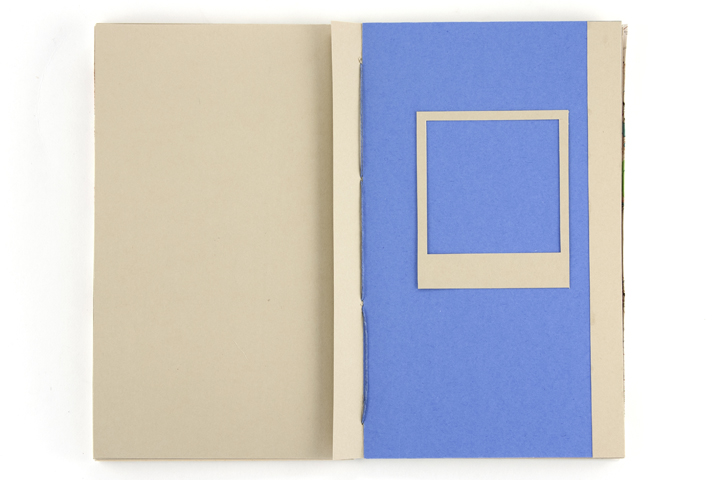
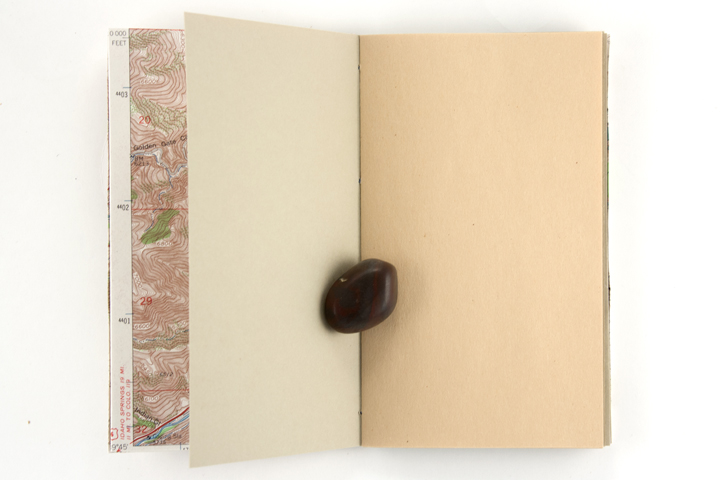
The small tab supports the blue paper. As long as the mounted material is the same thickness as the tab, then that will be sufficient spacing. The tab on the edge of the page will help keep the shape of the book.

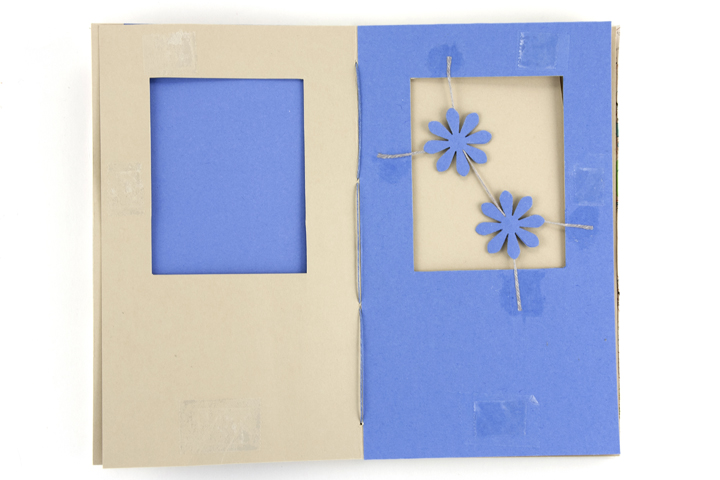
The object suspended in the window is kept there with thread that is feathered out and glued at the points of attachment.
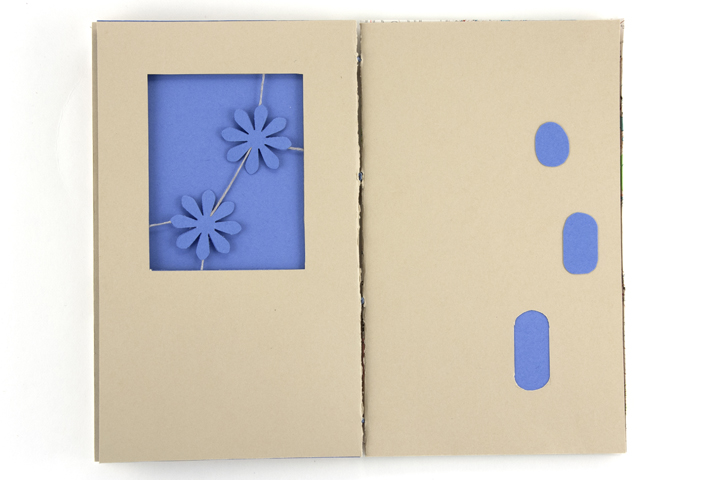
The item that sits in the secret pocket is cut to fit almost exactly to the open space created by the spacer.
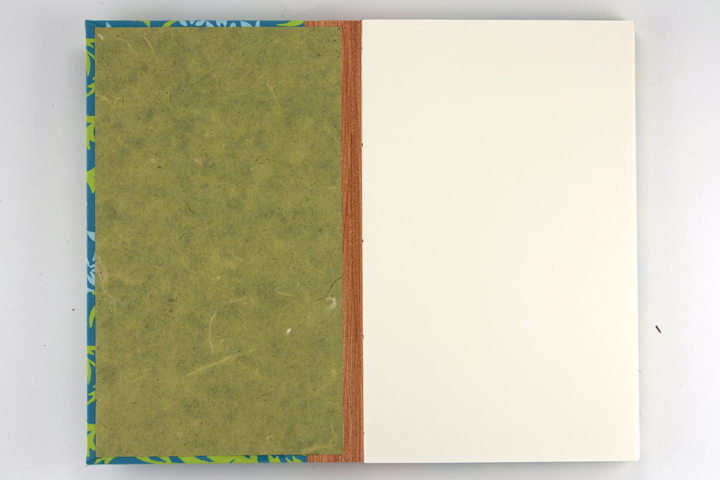
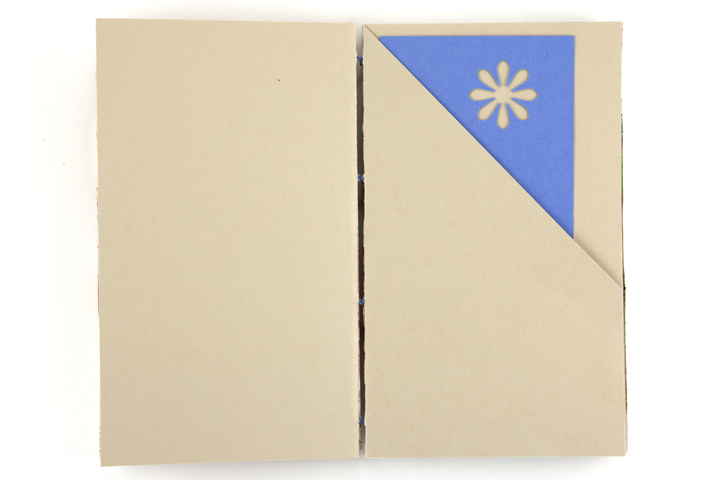
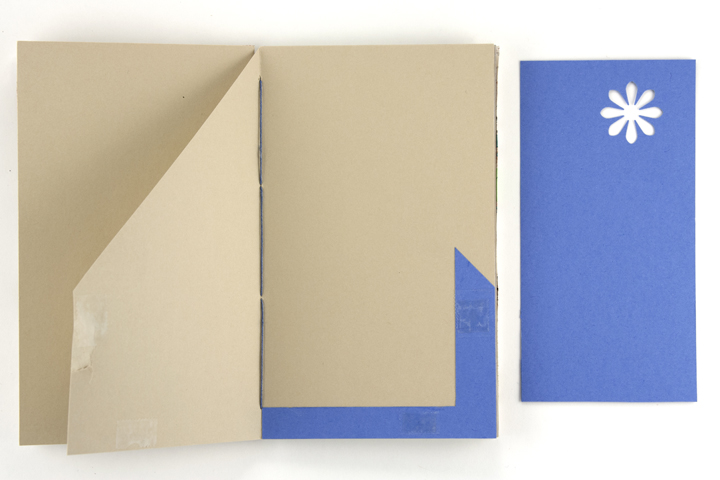
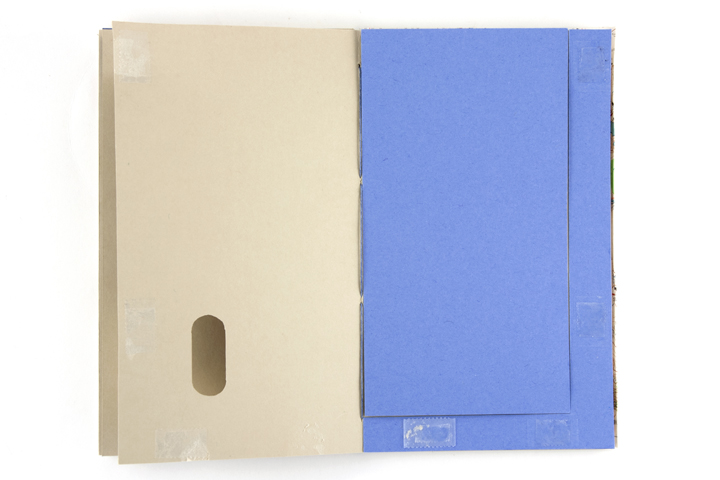
The first page in the text block is trimmed to a 3/4 to 1 inch tab, then mitered. To finish, a decorative piece of paper, cut smaller than the dimensions of the book cover is glued down.
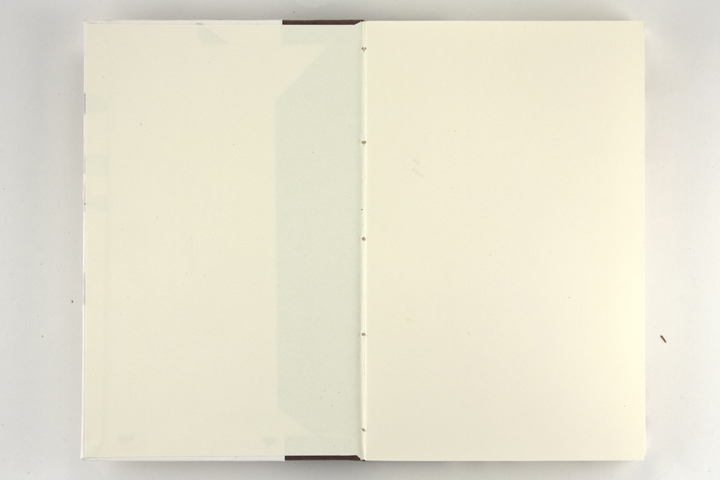
The first page in the text block is trimmed just shorter than the cover and glued to the board.