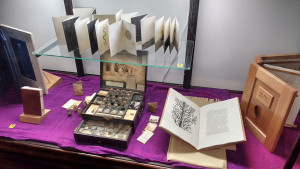
The Guild of Book Workers Standards of Excellence this year was held in Boston, Massachusetts at the Boston Park Plaza Hotel & Towers. We were conveniently located in the middle of Boston so there was a lot to see and eat. Needless to say it was easy to fill any spare minutes outside of the presentations and the vendor room. However, I will leave out our culinary tour of Boston’s great seafood stops and focus on the book related content of the weekend.
As we had driven from Bloomington (by way of Niagara Falls and Amherst) we made our way into Boston by car on Thursday morning (Oct. 6) in time to make it to North Bennett Street School. The kind folks there opened up the book studios to those of us who waited too long to register for the tour offered later that day. It filled up fast! I was happy to finally see inside the popular school and to see some new friends again. I left with the desire to sew loads of text blocks, end bands, and make tooling plaquettes to hone the book techniques I have been using so far.
After our visit, we headed to the hotel and perused the vendor room so I could gauge what kind of trouble I would be in by the end of the weekend. The rest of the day was spent walking Boston until the opening reception at the Hayden Library located in MIT, Cambridge. It was quickly cramped with familiar faces and opportunities to catch up with one another in between trips to the snack & drink tables. A little exhausted by the end of the night, I was happy to turn in and rest up for the presentations, all of which I was looking forward to. Depending on which group you were in, the sequence of the presentations varied for everyone. However, we all had the opportunity to see each one.
*Apologies for the quality of these photos. I forgot the nice camera for every presentation!
Daniel Essig
Scratching the Surface: Disguising and Embellishing Wood
(Check out his chapter in the Penland Book of Handmade Books.)
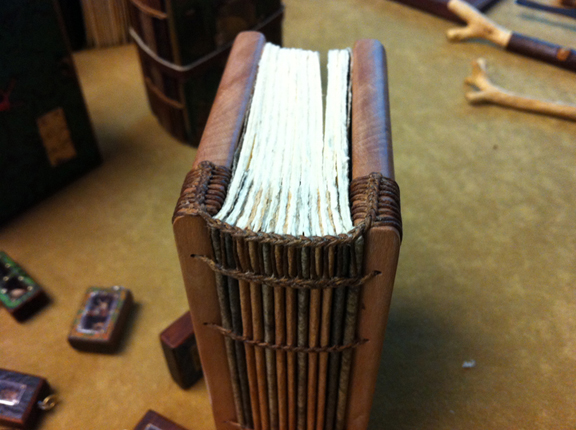
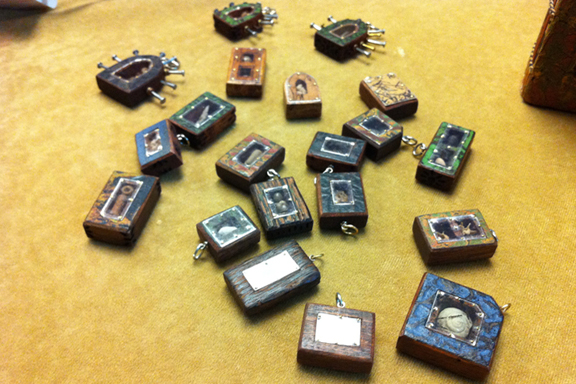
Daniel dove right in and began by explaining the types of wood he uses in his books as well as the materials that help him achieve the decoration styles that are characteristic of his work. He demonstrated a range of waxes and paints he layers then sands down to create interesting surface effects.
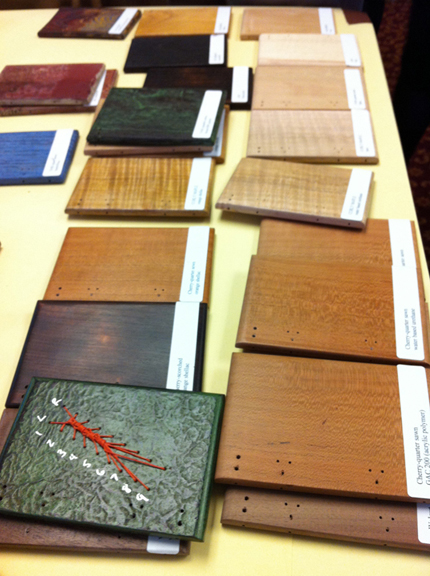
Yes, that is a centipede stitch template at the bottom. He demonstrated the sewing technique for us both off the book and on. Super easy…
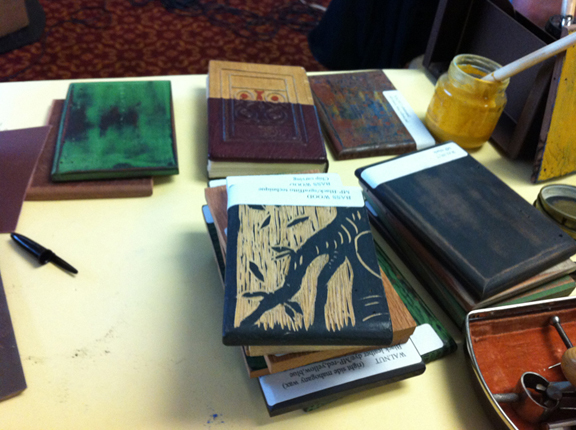
A few more surface decoration possibilities…
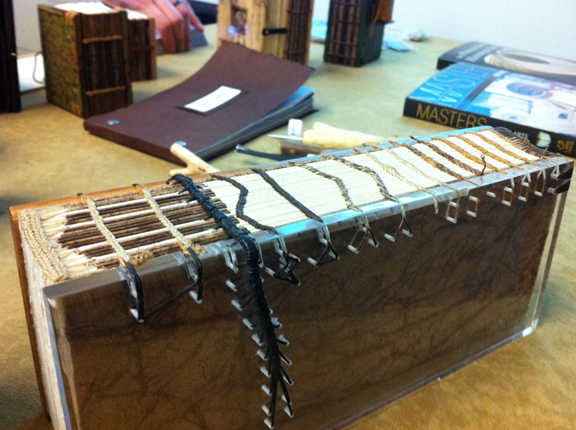
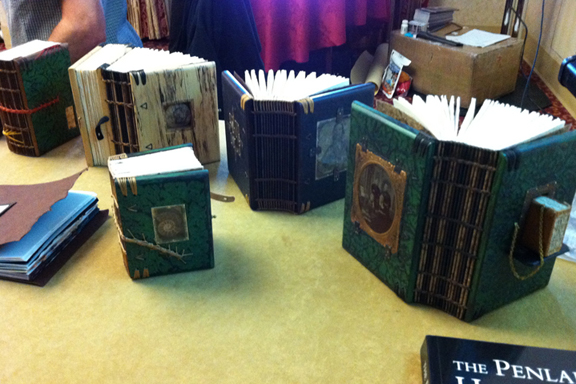
Here is a great way to have sewing and board attachment possibilities displayed. Plexi glass helps to see the direction of the holes in the boards as well as the path of the sewing threads…
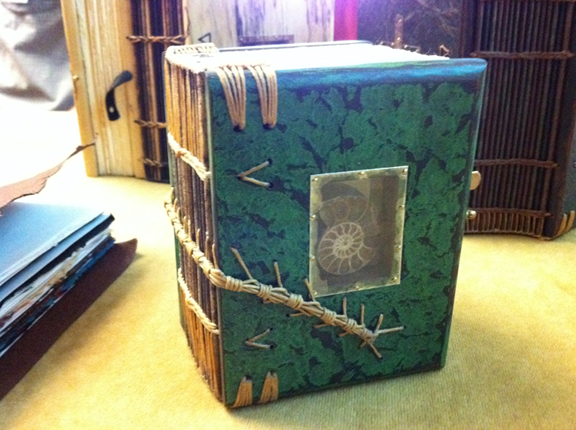
A closer look at the cover of this book helps get across the potential for the techniques demonstrated by Daniel. I can’t wait to try some of these out myself!
Katherine Beaty
Islamic Bookbinding
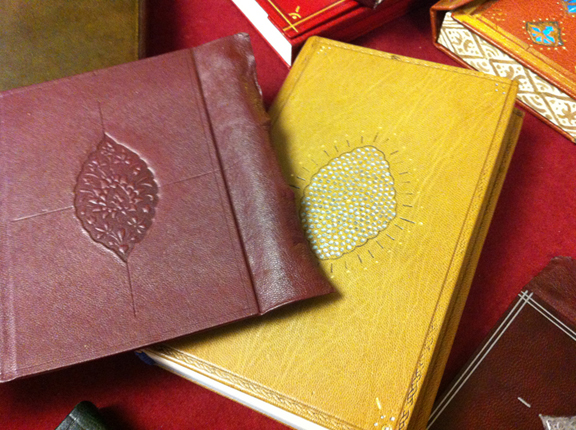
Katherine took us through the Islamic Bookbinding process from start to finish only leaving out the sewing of the text block. The decorative covers are a great match for the exquisitely decorated pages that would have been bound inside.
She demonstrated a lovely woven end band that uses a primary and secondary sewing method. The end result is colorful and impressive. (Sorry, no photo). The leather covers are attached in two pieces allowing for an economical use of leather and an easy way to manipulate the covers during stamping and other decorative treatments.
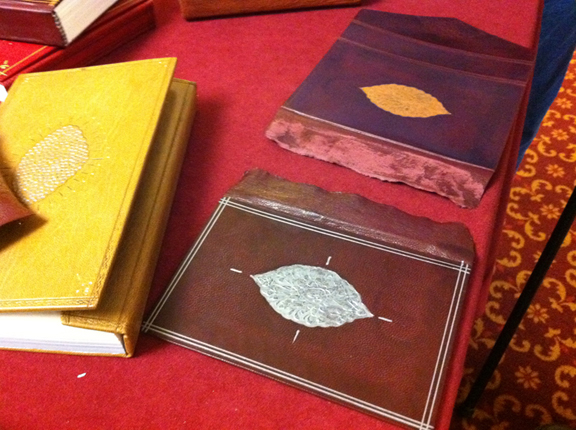
Silver and gold would have been painted on the covers; sometimes the leather would be cut away for multidimensional decoration.
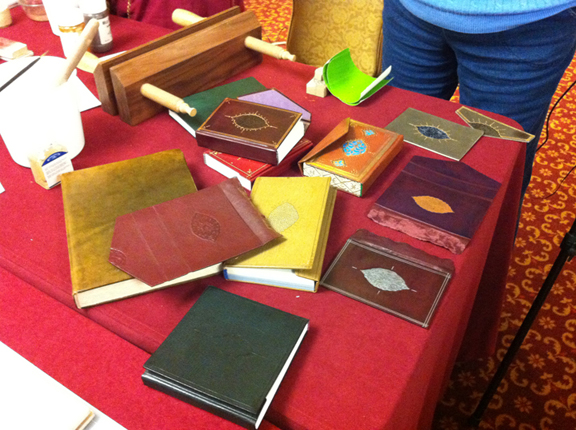
Katherine’s presentation showed a very approachable way to learn such intricately decorated bindings.
John DeMerritt
Edition Binding: A Hybrid Approach
John’s work is that of edition binding: putting together batches of books that match his clients’ creative content or ideas. One of the great parts of John’s demonstration was that his approach in the way of edition binding is different from my approach to just one or two books. He has many smart ways of making the process faster or more efficient with jigs and templates. It is great to see this working style every once in a while. Sometimes it isn’t necessary to spend extra time on certain steps. It is always helpful to gain another perspective on the comfortable work methods you develop working on your own.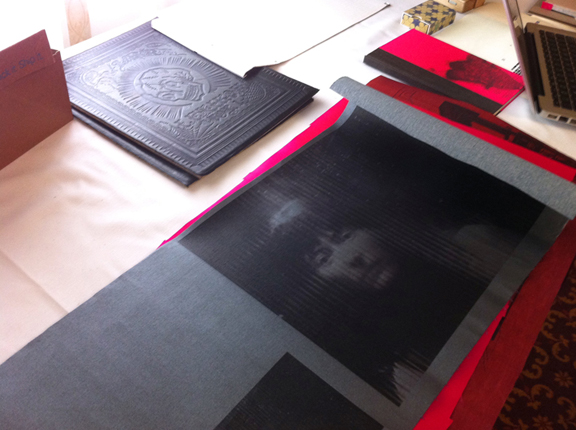
Capitalizing on the benefits of today’s printing technologies, John has found many ways to decorate cloth and leather for his edition work. Shown above is book cloth printed on an impressively large format printer and a board covered in upholstery leather stamped with one plate.
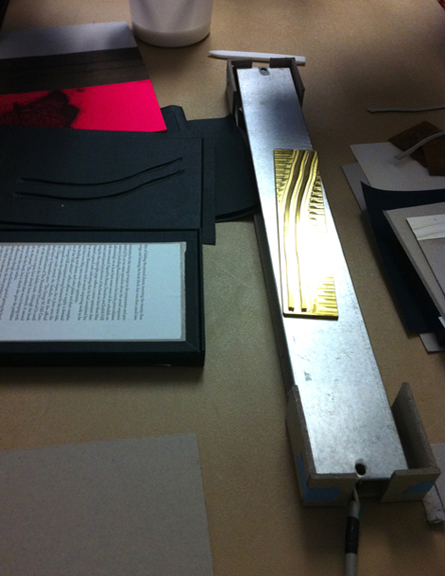
John has also figured out a way to heat stamp with over sized plates too big for anything less than industrial sized heat stampers. He created his own heating surface and using his screw press makes the impression in the cover surface. The effect is very successful.
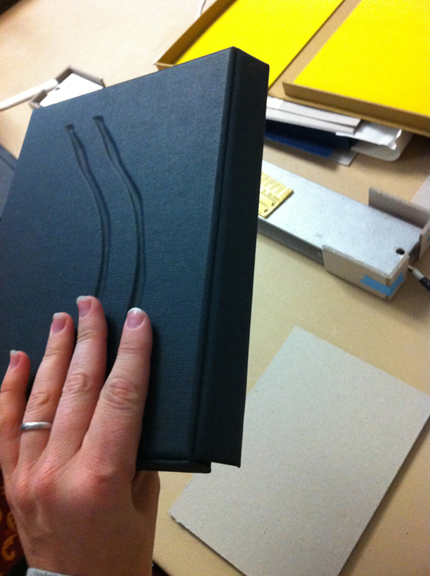
For the box, John used a cut away method to create this graphic. It was done on a computerized cutting machine, but it could be done by hand (if you are only doing it once or twice).
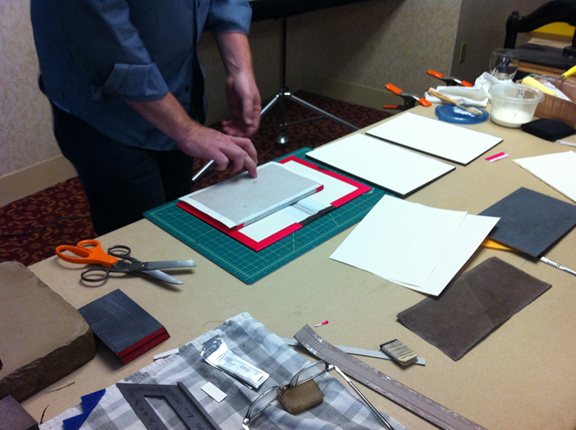
Despite the advances in technology, a binder is still a binder. Here John demonstrates casing in the modified bradel binding.
Todd Pattison
Conservation of 19h Century Publisher’s Bindings
Todd demonstrated the repair of publisher’s bindings that seem to be ever available. This particular treatment is fit for books that have a solid text block (sewing is good) but the boards and or the spine has fallen off or is broken. He uses toned tissue for his repairs in order to match the original material.
Below are a few examples that are good candidates for repair.
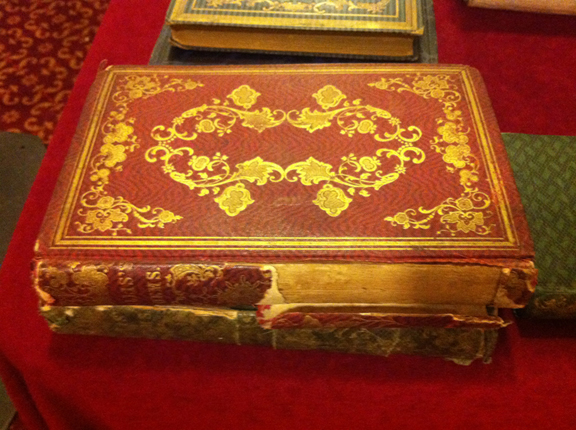
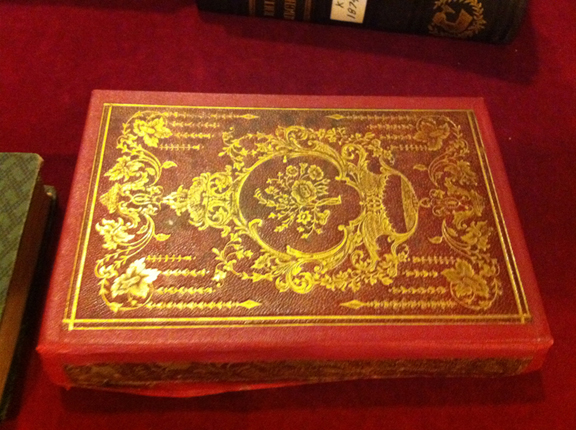
This is a very creative way to repair a book with tape. The color does indeed match, but it is still tape. No good for the long term.
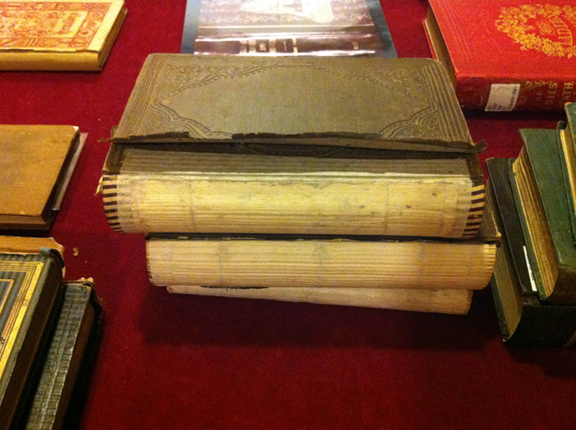
Here are a few text blocks that have had their spines cleaned and lined. The cloth on the boards has also been lifted away to allow for the repair material to slip underneath.
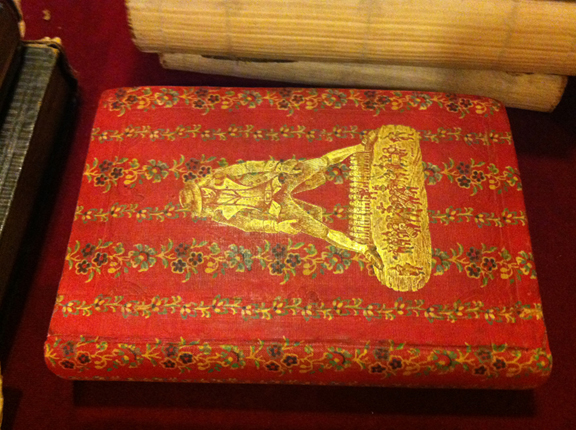
This book was repaired by Todd. This book needed a re-backing so he used red toned tissue for the new spine material and then painted the flower pattern to match the cover! Even staring at it up close it was hard to tell where the old material stopped and the new material began. A little more time consuming than the others but a lovely end result.
Once again, I had a great time seeing the wonderful presentations and getting a chance to see some people I only ever run into at Standards. Feeling reinvigorated, I returned to my studio ready to take on the projects waiting for me and those that are still swimming around in my head. Thanks to all of those responsible for putting it all together!
