This time of year, workshops – both planning for them and teaching them – take up the majority of my time. This has been a new realization as I eagerly compile handouts and make lots of teaching guides. All the while, the stack of works in progress remain on the bench like a group of archaeological artifacts on display. It is a little bit frustrating not to get to those projects, but the reason I can’t devote attention to them right now is highly rewarding.
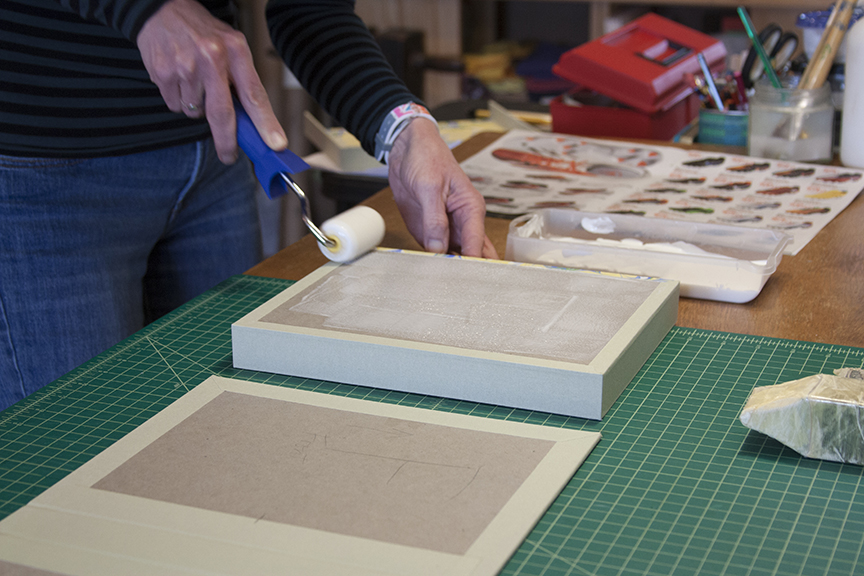
Earlier this March, I had the opportunity to teach a Clamshell Workshop in my studio, the first workshop to kick off the year. While the workshop was originally planned to be taught to a small group of students, it turned into a private lesson due to various schedule conflicts. Teaching one on one has many benefits, one of which is to be able to focus on the needs of just one student. When teaching a full class, it is hard to check in with everyone’s specific progress the whole time. That is just the nature of a classroom. However, with just one student I was able to not only give all my attention to this student, but I was able to do a thorough testing of my teaching materials.
Box making can be really stressful and I still remember when I first learned all the finicky steps of putting together a clamshell box. The materials are hard to cut by hand, specifically binder’s board, a lesson very quickly learned. Without a board shear, your hand gets tired from drawing the knife across the material over and over again, taking 10 or more cuts to make it through the material. Additionally, the room for error is great when your hand gets tired. The angle can change and your cutting can be not quite straight. However, it is the reality of most book binders and book artists so it is valuable to be able to show how I have learned to work around the lack of convenient tools.
Another potential stress inducing quality of box making is wrapping. In order for the cloth to wrap the board neatly, there is a series of cuts that needs to be made at various points of the cloth. Additionally, any material being used needs to be accommodated in the initial stages of measuring and creating the box. Without a live demonstration, all of this can be terribly confusing when trying to learn from a book or online.
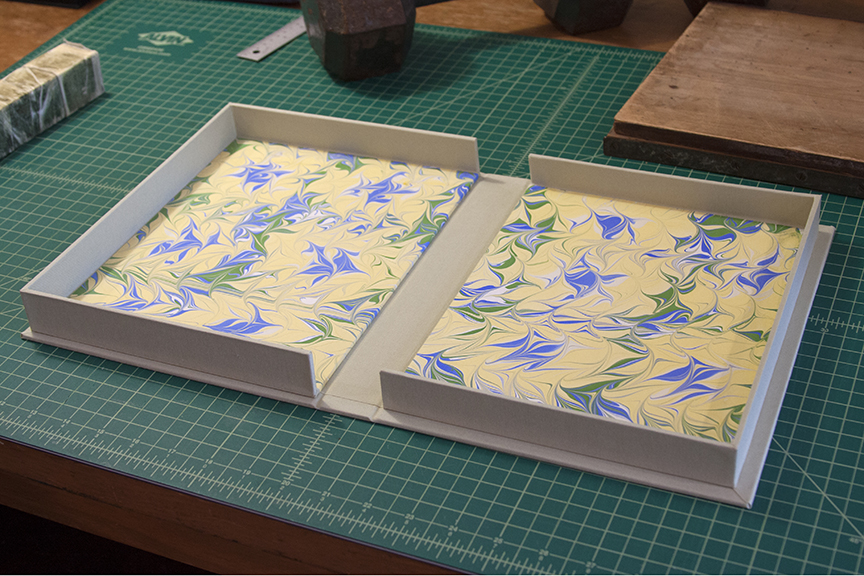
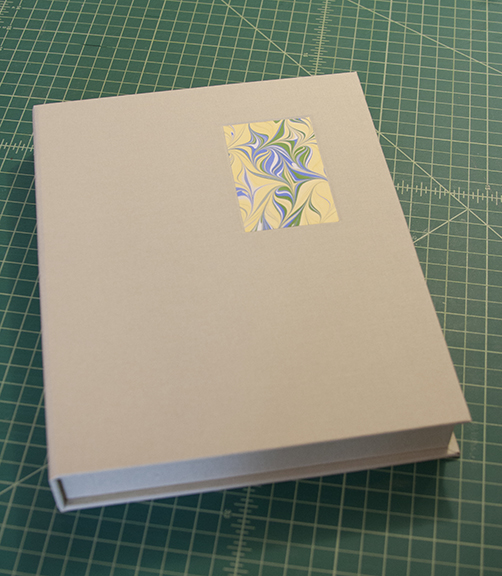
We spent two afternoons working through the steps of box making with great success. What resulted was a beautiful clamshell box lined with handmade marbled papers and a simple recessed label on the front. Most importantly, I had a student leave the studio with the enthusiasm and ability to make more boxes.
This class also gave me a lot of good things to think about as I finish preparation for the Box Making for Book Artists workshop I will be teaching this May at the Paper and Book Intensive in Saugatuck, Michigan. We will be making a box that is essentially a clamshell with a few modifications to make it helpful for artists looking to house unique materials. Can’t wait till May!


