This August I will be participating in my first steamroller printing event put on by Walnut Ink Press! More event information is on their Kickstarter page.
Here are the event details:
DATE: Saturday, August 23, 2014
TIME: 11:00am-5:00pm *There will be assigned printing time slots for each artist
LOCATION: Walnut Ink Projects, 607 Franklin St, Michigan City, Indiana 46360

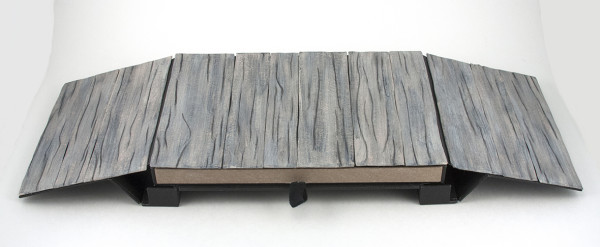
So what is a steamroller printing event? The picture above is helpful but I will explain. This will be a day long event during which very large wood blocks will be printed with the use of a steamroller. A 3′ x 7′ block of MDF board was distributed to each artist, or collaborative pair who agreed to participate. Everyone then cut their design into the surface, and later the blocks will make their way to the event site. When it is time to print, each block is laid on the ground, inked with large rollers, and then a piece of paper or cloth is laid down on top of it. Finally, and most excitingly, a steamroller is driven across the stack to make an impression (photo above), which is the pressure required to print such a large relief image. It is also super cool to see a steamroller drive over things!
My desire to do a steamroller print extends beyond the excitement of seeing the machine drive over the block. I’m attracted to the idea of a giant print because there is a lot of potential in such a large space and it is rare that you get the opportunity to find someone with the equipment required to print it. There is a lot to consider when composing a giant print…it is not enough to think of an average sized design and blow it up. There is something lost in just making something bigger or shrinking something down. When the scale changes, the concept also changes.
So when my friend and colleague, Andrea Peterson, asked me last year to collaborate on a print for the event, I nearly jumped through the phone from excitement. We soon made plans for our first collaborative piece. We both thought about the large format, agreeing that the concept needed to take advantage of this large space. After stewing it over a while, we talked about our current interests and found out that they share the same ecosystem. Andrea had been studying radialarians, protozoa that build very interesting skeletal structures around their endoplasmic centers, and float along with the zoo-plankton in the deep sea. When looked at on their own (and magnified), they look more like creatures from outer space than the ocean, and this appealed to me very much. I have also been captivated by life within the deep sea. There is such mystery involved with the vastly unexplored place. There are so many creatures that either live so deep they are hard to encounter easily or are so small you need magnification to find. Because this block is so big, we came up with the idea to blow up miniature lifeforms to epic proportions and allow them to interact with one another in the print. The vastness of the sea could be conveyed as well as these seemingly minor lifeforms that are rarely encountered by the average person.
Now that we had our theme it was time to figure out when we could make it all happen. Since Andrea and I were collaborating from a long distance away, 4 hours drive to be exact, each part of the process needed to fit into two intense sessions. Those days were packed, but well worth it. Below is the process from drawn composition to proofing the block all captured on film (digitally). It is a great glimpse into the process.
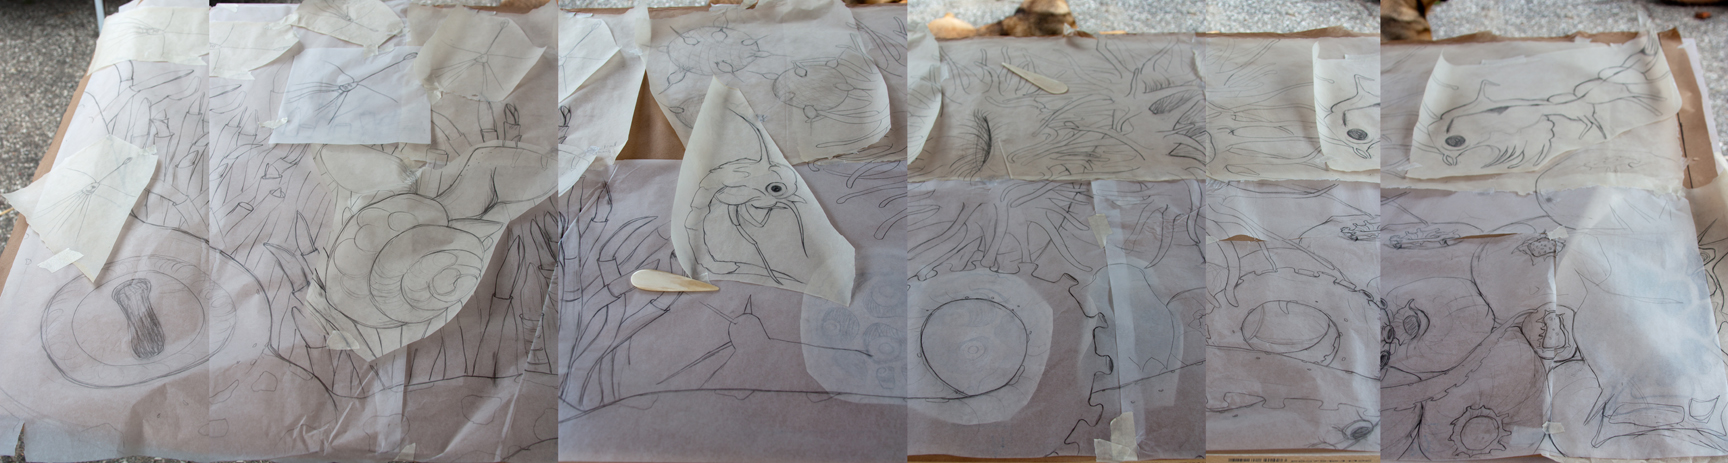
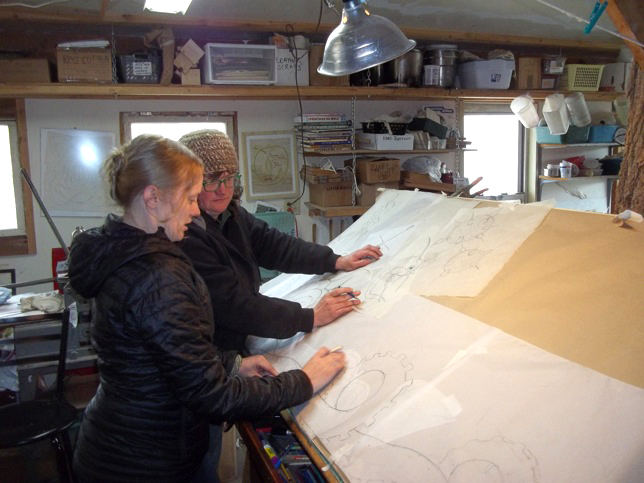 SESSION 1: During our first meeting for the block, Andrea and I decided to begin the planning stages by working on pieces of transparent paper. This allowed us the freedom to draw components, move them around, and layer them where necessary for the overall composition. These pieces could be endlessly arranged and rearranged until it felt right. Once we agreed on the drawing, all of these pieces were taped to a piece of craft paper that was cut just larger than the block we would be carving.
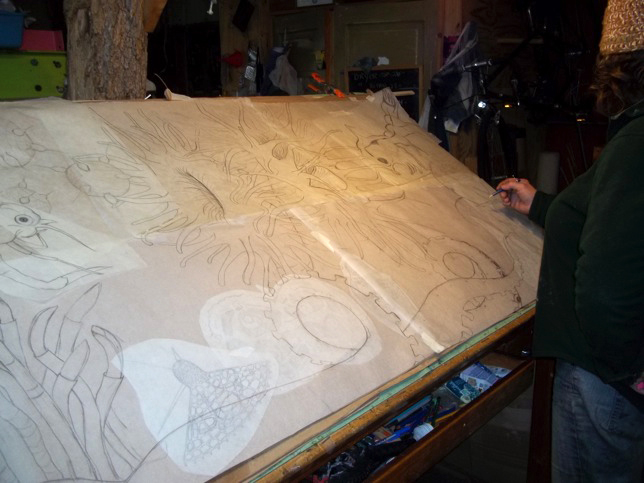 In the above photo, Andrea is drawing where areas need to be filled in or adjusted. You can see how the various layers interact with one another. This work was done in one day as I was passing through town. However, with the drawing done, we were able to roll it up and have everything ready for the next time I came through.
SESSION 2: A few months later we had our second and final session with the block. I arrived at Andrea’s place on a Friday evening, and that night we stared at the blank block that was ready for us to carve. We talked about our game plan and decided to start fresh in the morning.
Andrea picked up a great tip for transferring drawings to a block for carving. If you buff in white acrylic paint with a rag into the surface of the block and let it dry, the drawing will very easily transfer when rubbed face down. Also, it is really easy to see what you are carving during the process since you have created a visual difference between carved away space and the untouched surface.
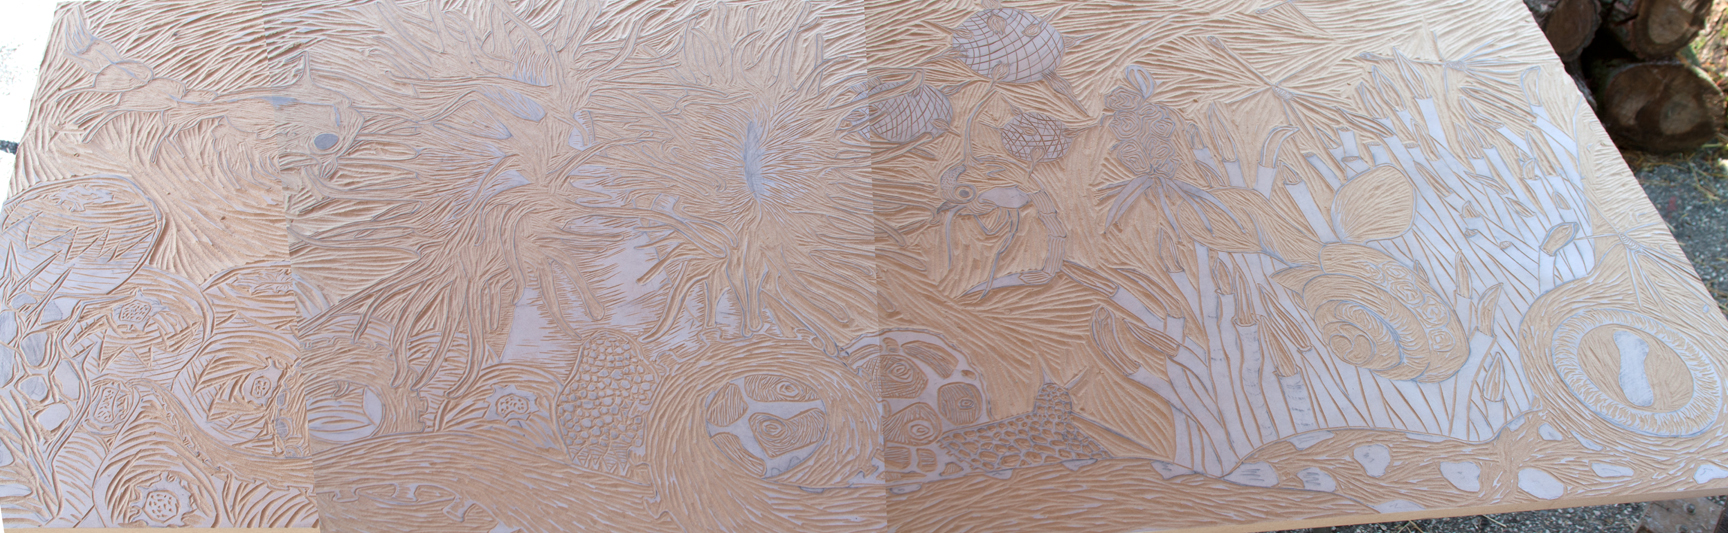
 This is a digitally stitched together photograph of our overall design. It looks really rough, but because we are smart, we were able to figure out how to transfer the whole thing in a legible way. (click on the image for a larger view)
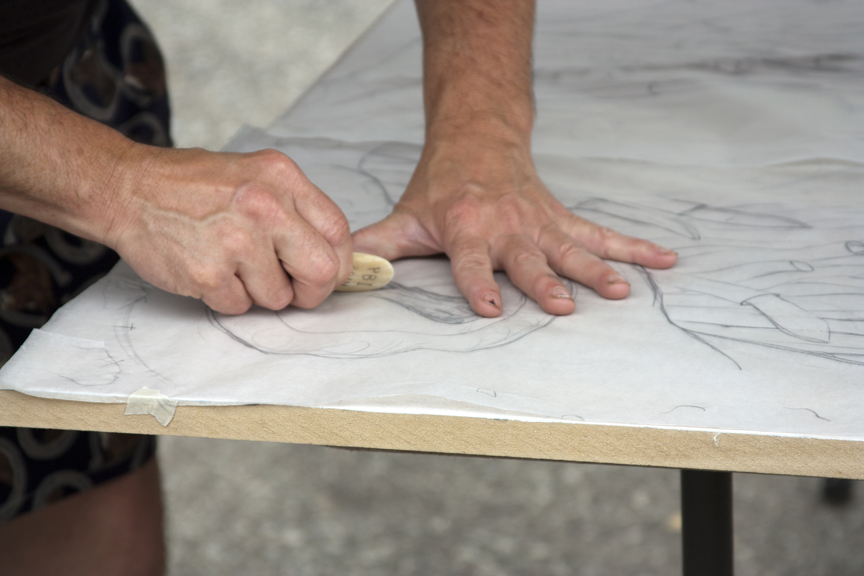 Above, Andrea is burnishing the drawing, pencil side down, onto the acrylic treated surface of the block. Below is the wonderfully crisp result.
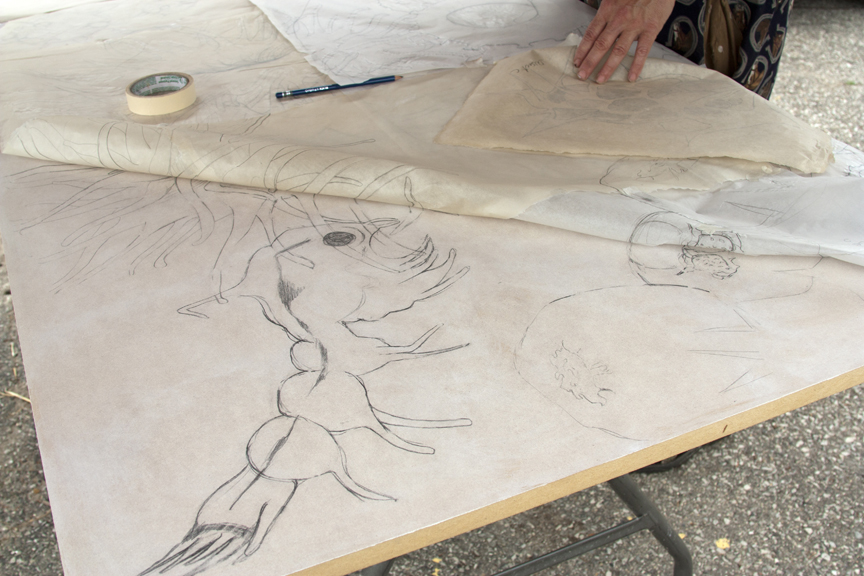 As we rubbed the drawing from the back with bonefolders, we were able to peel back the drawing to make sure it transferred clearly.
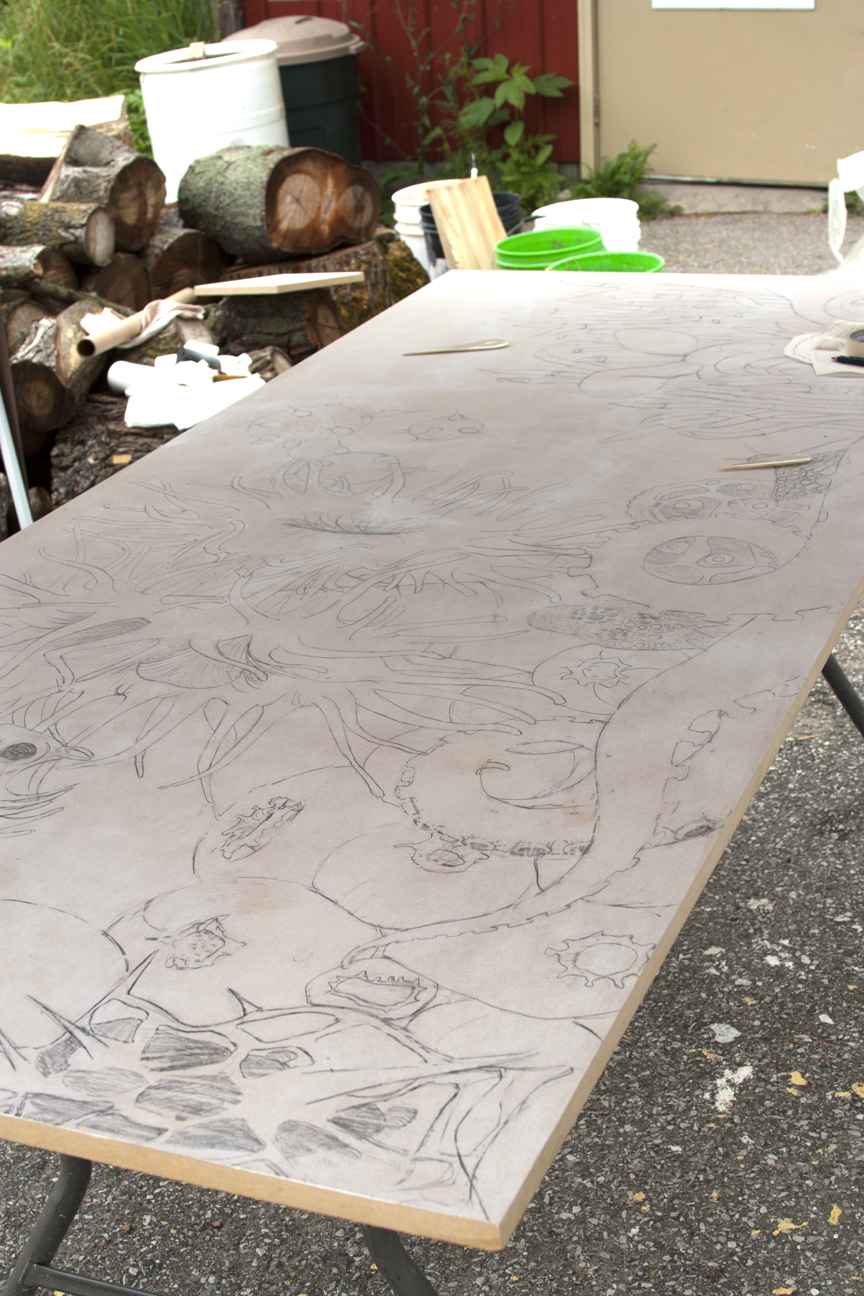 This is the drawing transferred in its entirety. It is easy to zone out during the cutting process, so we left enough guidelines for those moments, but we didn’t define everything so that there was still room for changing the imagery as we felt appropriate. The drawing transfer was completed by lunch time. After we were fed, we were ready to get into the meat of the business.
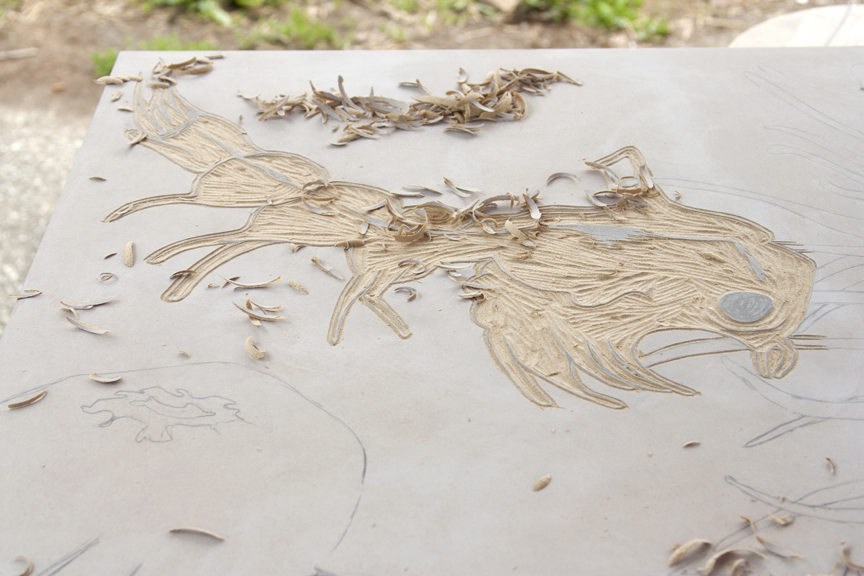
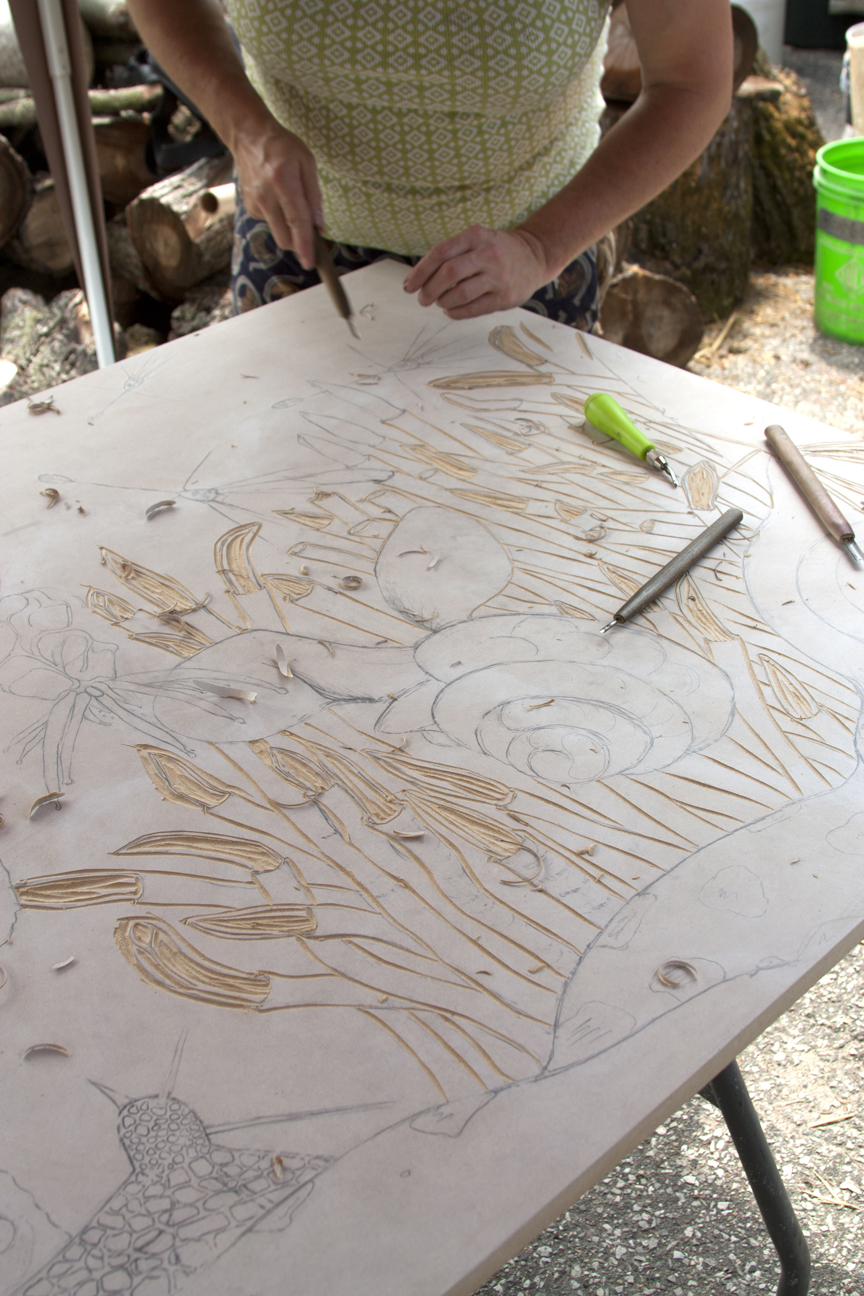 So we began to carve and carve and carve. It felt really slow at first, but as we both set into the rhythm of cutting away material, things just moved forward.
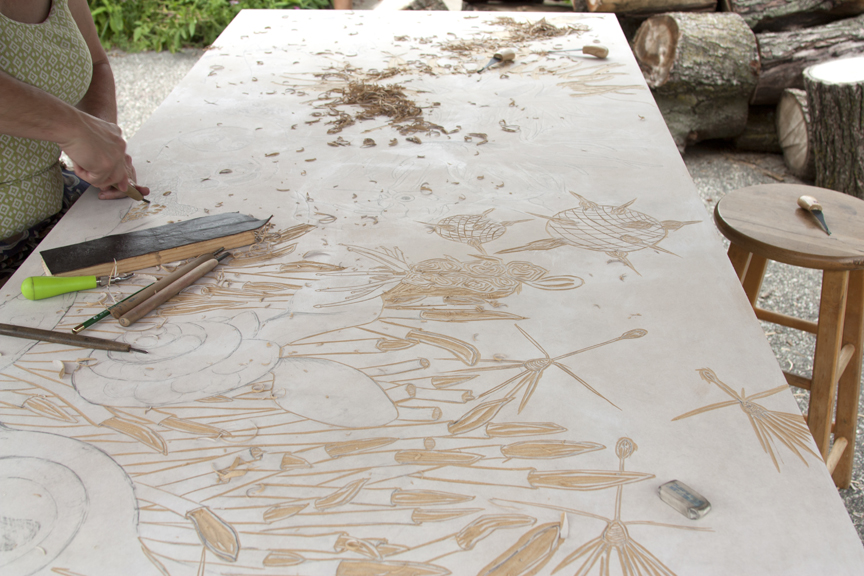
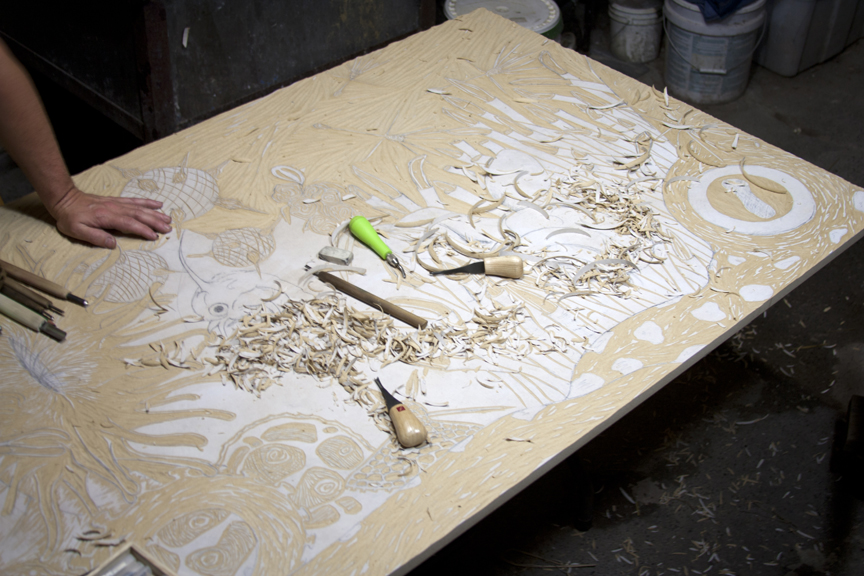 We carved into the night and had to move the block inside. There was a giant rainstorm rolling in during the early evening, and since the sun we were enjoying earlier became non-existent, we decided to move it indoors. Plus the bugs would have chased us inside anyways.
So we continued to cut… 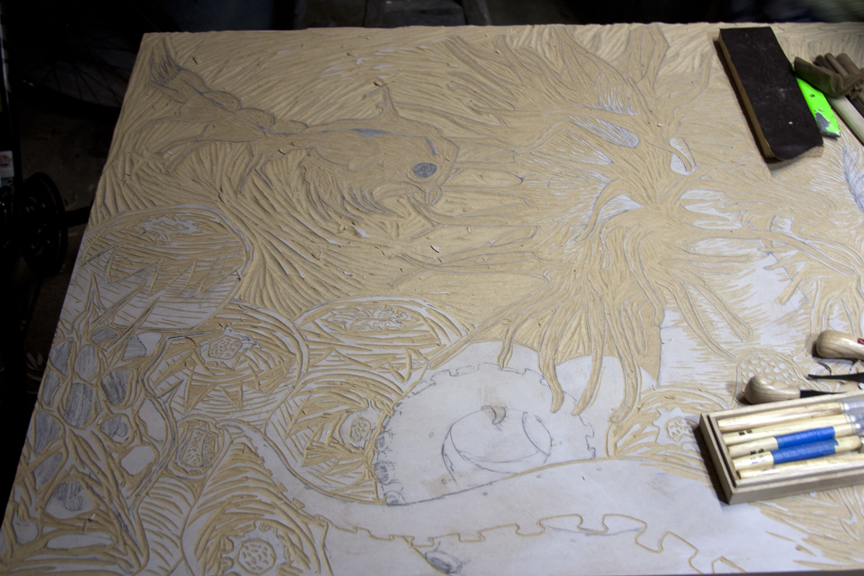 We carved our night away and eventually grew tired. After a very full day of work, we had over 75% of the block carved and had bruised palms to prove it. Stretching our sore limbs, we called it a night until the following morning.
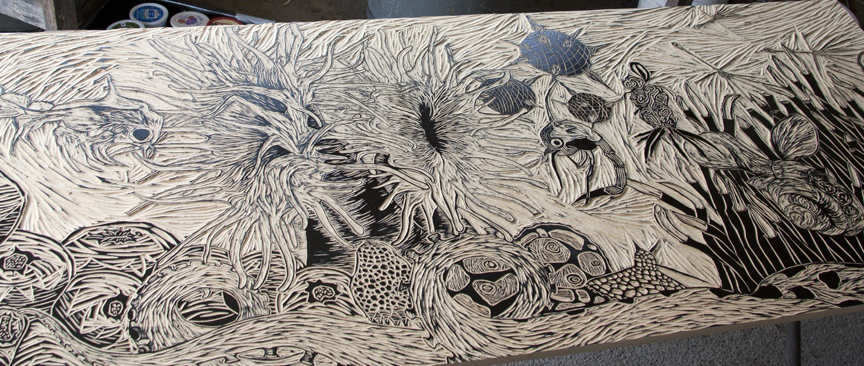
Restored by sleep, we walked outside to greet the block. Another sunny day allowed us to move the operation outside again, and when the sun hit the block, the lines seemed to dance. We didn’t have too much left to do and quickly set to getting it finished.
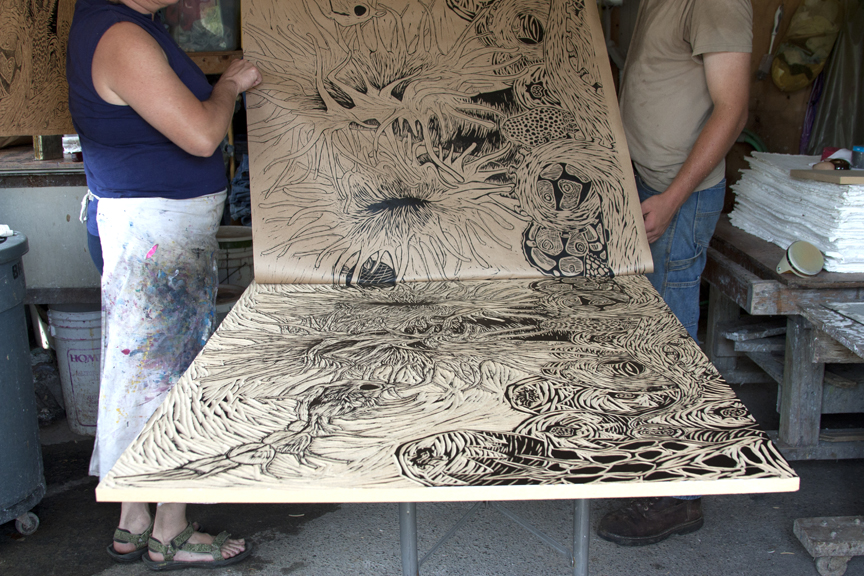
 Above is another stitched together image of the completed block carved. (click for a larger image). Satisfied, we celebrated and decided to pull a proof or two to make sure that we in fact cut everything to our satisfaction. Below is the inked block…there is such magic when you roll that first layer of ink onto a newly carved block. All of a sudden, something that was only in your head is finally a reality. This block was not only interesting to look at, but the imagery was showing some great movement like we had intended.
 So we laid a long piece of craft paper down, rubbed the whole block for a very long time with barrens, and we pulled two proofs. Below is the second proof…
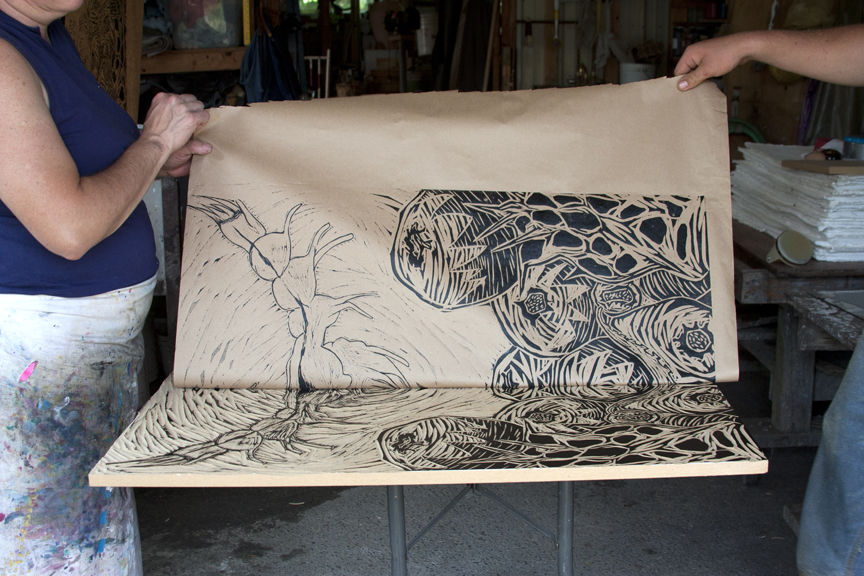
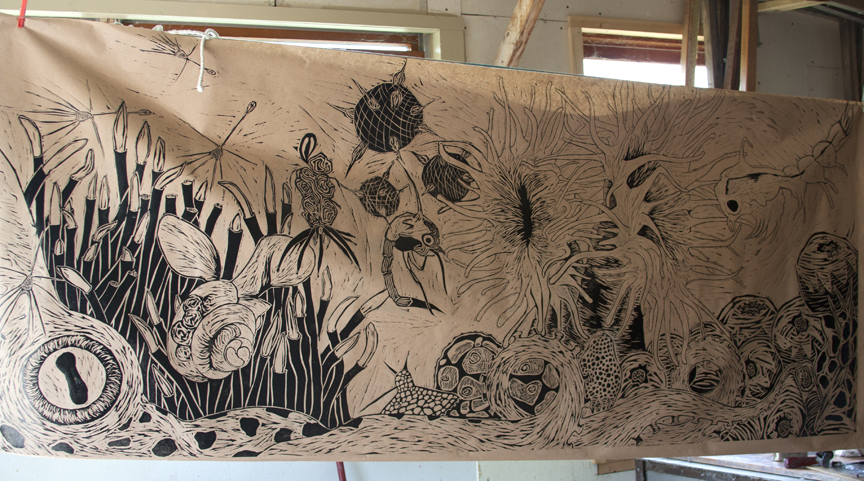 We spent a good amount of time looking at and discussing the print. This was the time to correct anything that might have needed tweaking but we felt confident that the work done on the block was absolutely what we intended.
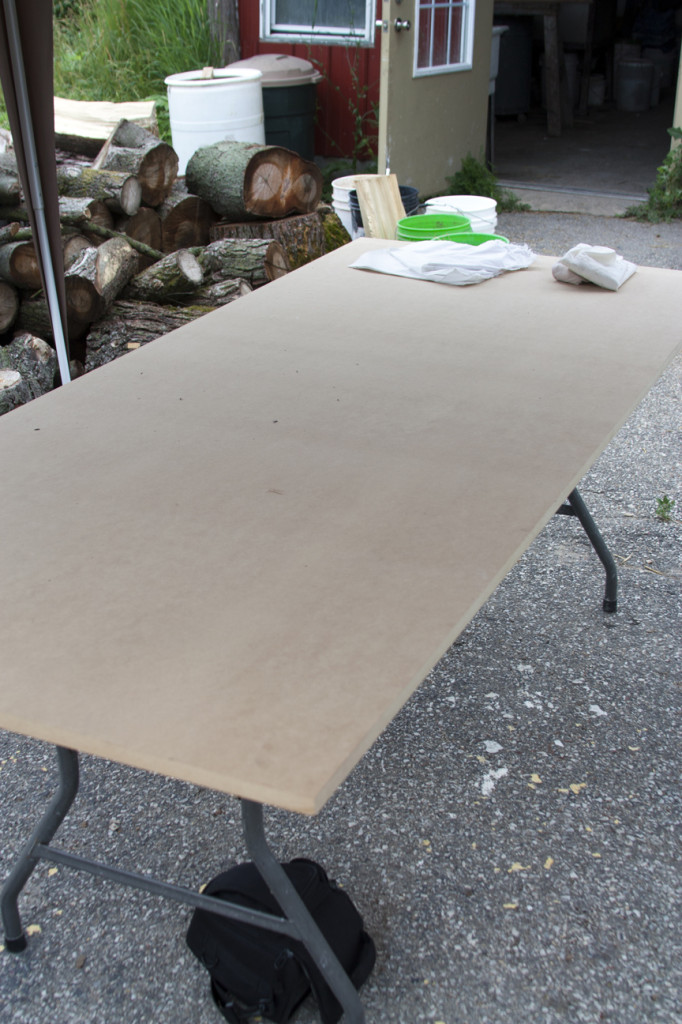
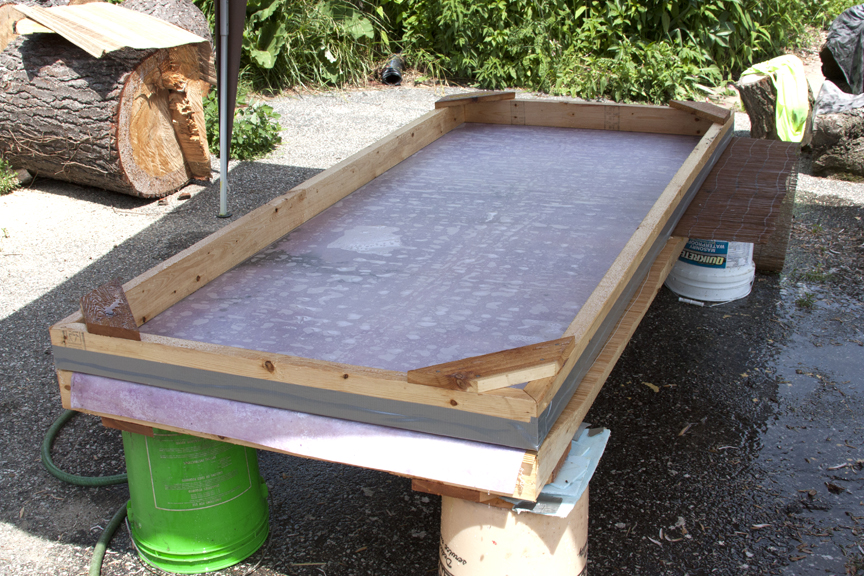
At this point, people could clean up their block and call it a day. But not when you are collaborating with a paper maker. We did clean our block, but because the event will be providing only cloth to print on, it was decided that we should make very large sheets of paper to print on as well. Why not? Thanks to the help of family members, a large frame was built (a giant version of a traditional mould and deckle used during sheet forming) and coated with clear coat to make it waterproof. A mat layer was laid down over the bottom frame, then a single layer of pelon (the whitish material in the photo below). All of these layers were wet down with a hose and the second frame (or deckle) was laid on top.
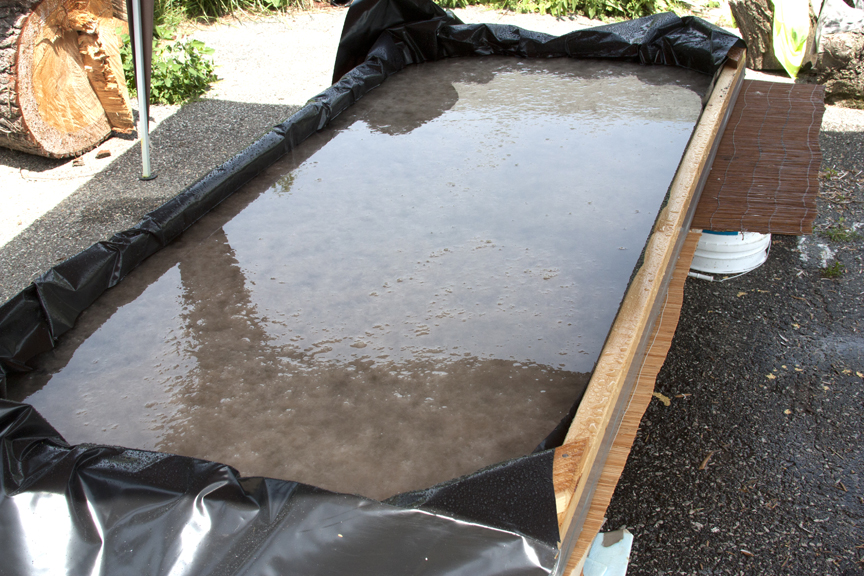
 Next, plastic was laid across the space and filled with water and pulp (image below). We made sure to disperse the pulp evenly throughout the bath getting rid of any clumps.
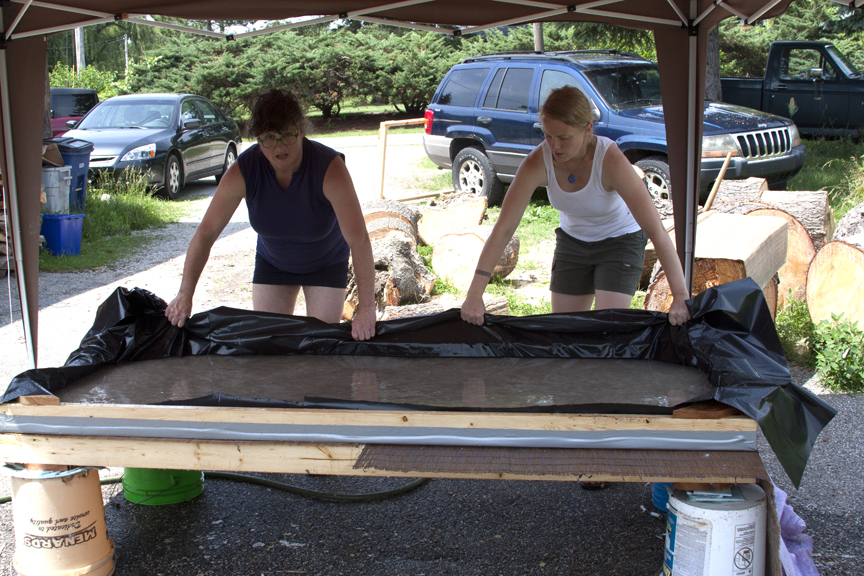
 The next step was to pull the plastic from beneath the water/pulp mixture like a magician pulling out a table cloth. Here we are poised for this one-time-shot action.
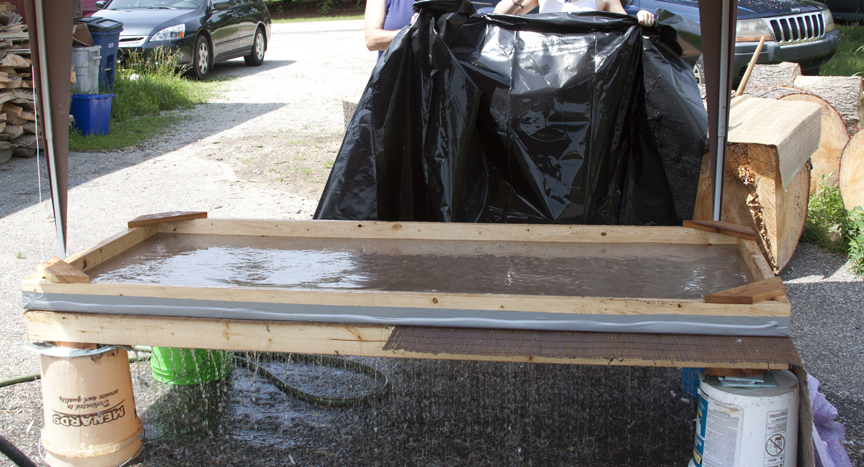
 Success! As you can see from the photo below, the water is draining, we didn’t fling any of the contents out of the frame, and everything seems to be settling uniformly.
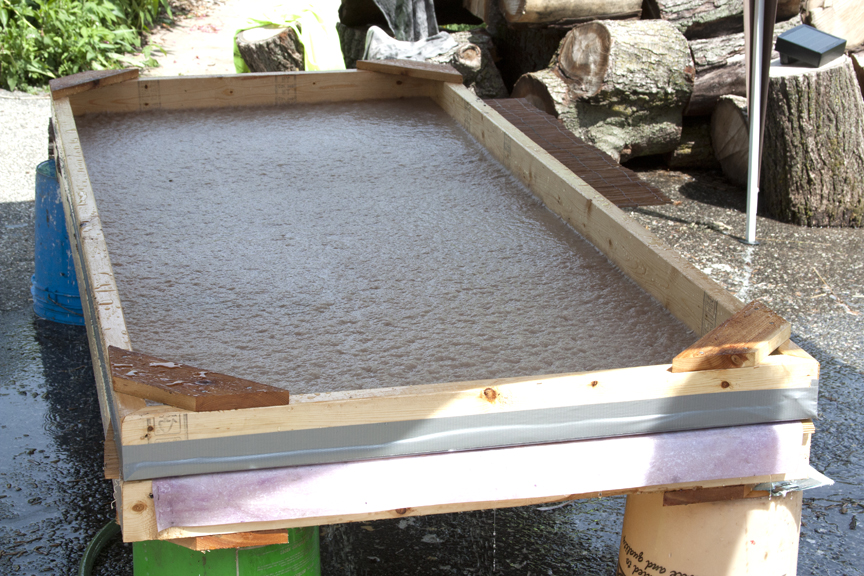
 Below is the future sheet of paper left to drain completely. Once enough water has left the sheet, it was put upright to dry on the frame.
 The whole process from block print to sheet forming took no more than three days of work spread out between two visits together. So far, it has been a great experience. So great that I would do it again and have been thinking of future block ideas. But before I get ahead of myself, there is still the printing event. Stay tuned for updates either here or on my Facebook page. And if you are in the Michigan City area August 23rd, I hope to see you there! Come say hello!