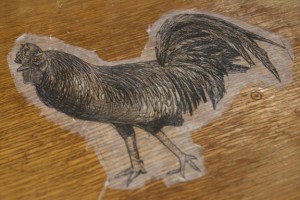
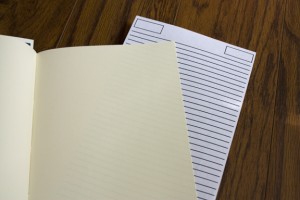
While I have been working on a few relief pieces, I was looking into different ways to get my drawings on to the wood or linoleum block. I usually create a drawing to decide what will be carved and sometimes this is a fairly detailed sketch. My current image idea, a rooster, would not only take a long time to trace onto the block using transfer paper, but I also worried about losing some of the line quality during the tracing process.
[you can click on all of the images to better see what is going on]
I’ve read about and seen acetone transfers done before but didn’t think that would be appropriate for my needs. The image does not always transfer in a clean and consistent way as it relies on rubbing the image to transfer. I also wasn’t sure how it would react to my hand rubbing over it so many times during the cutting process. Since my original drawing was with a pencil, there was potential for much detail to be lost.
I set to looking online for more options. I came across the acrylic transfer method on the Golden acrylics website. Since I already had some clear gel medium I thought it wouldn’t hurt to try out the method.
I scanned my sketch into the computer, adjusted the image so that it was just a black line drawing, then printed it out on regular computer paper. The image was brushed with the gel medium (twice) and left to dry completely.
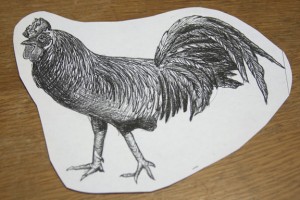
Once dry, it was turned over and dampened with water until it was uniformly damp. Using the tips of my fingers, I rolled the paper off of the printed image. It came off more or less in strips until I got close to the image. I made sure to be careful as I came close to the toner.
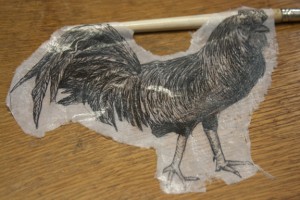
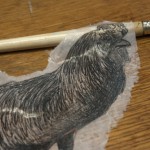
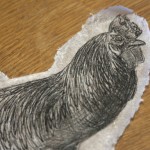
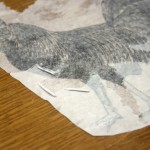 Here is an image of most of the paper peeled away. This is still the “back” so what is seen here are the remnants of the computer paper fiber, then the toner, and keeping it all together is the gel medium.
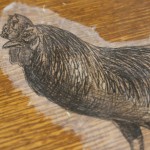
Here is the same thing viewed from the front (the shiny gel medium is now on top).
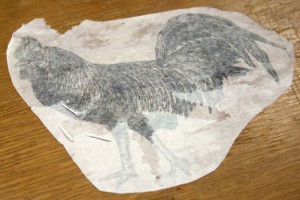
Here is the same thing after it has dried. It lost some of its transparency because I didn’t get rid of all of the paper fibers. If I had spent more time with it, I imagine it could have been even more transparent than this.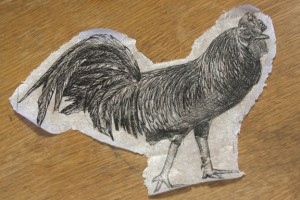
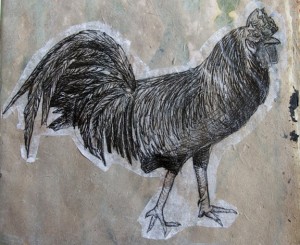
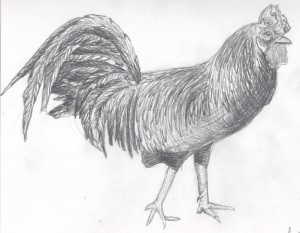
The acrylic transfer is now on the left and a printed out rooster on paper (what I started with) is on the right.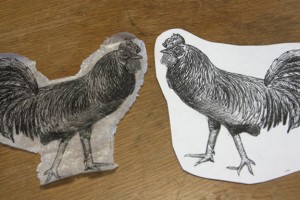
I glued the transfer into a sketch book to keep on hand for the future. I determined that an acrylic transfer would not work as a means to transfer an image to a block because you are left with the layer of medium on your block and after cutting the block, you would have to figure out how to get rid of that. I wasn’t interested in that challenge so it will be added to the pile of potential surface treatments.
However, I think there is great potential for this method. Knowing that no matter how much time I spend rolling away paper fibers, there will always be some left over. With that in mind, I can use a colored paper or tone the paper before printing out my image. This way I can tint the remaining fibers to match the surface it will end up on or it could be made to stand out with a contrasting color.